
Vendors are your suppliers and distributors, the companies you buy inventory from. The Vendors page is where you set them up; from there, you assign a vendor to each product along with your cost and the vendor's SKU on the product page. A clean vendor list is the foundation for purchase orders, cost tracking, payout history, and vendor reporting.
Where to find it
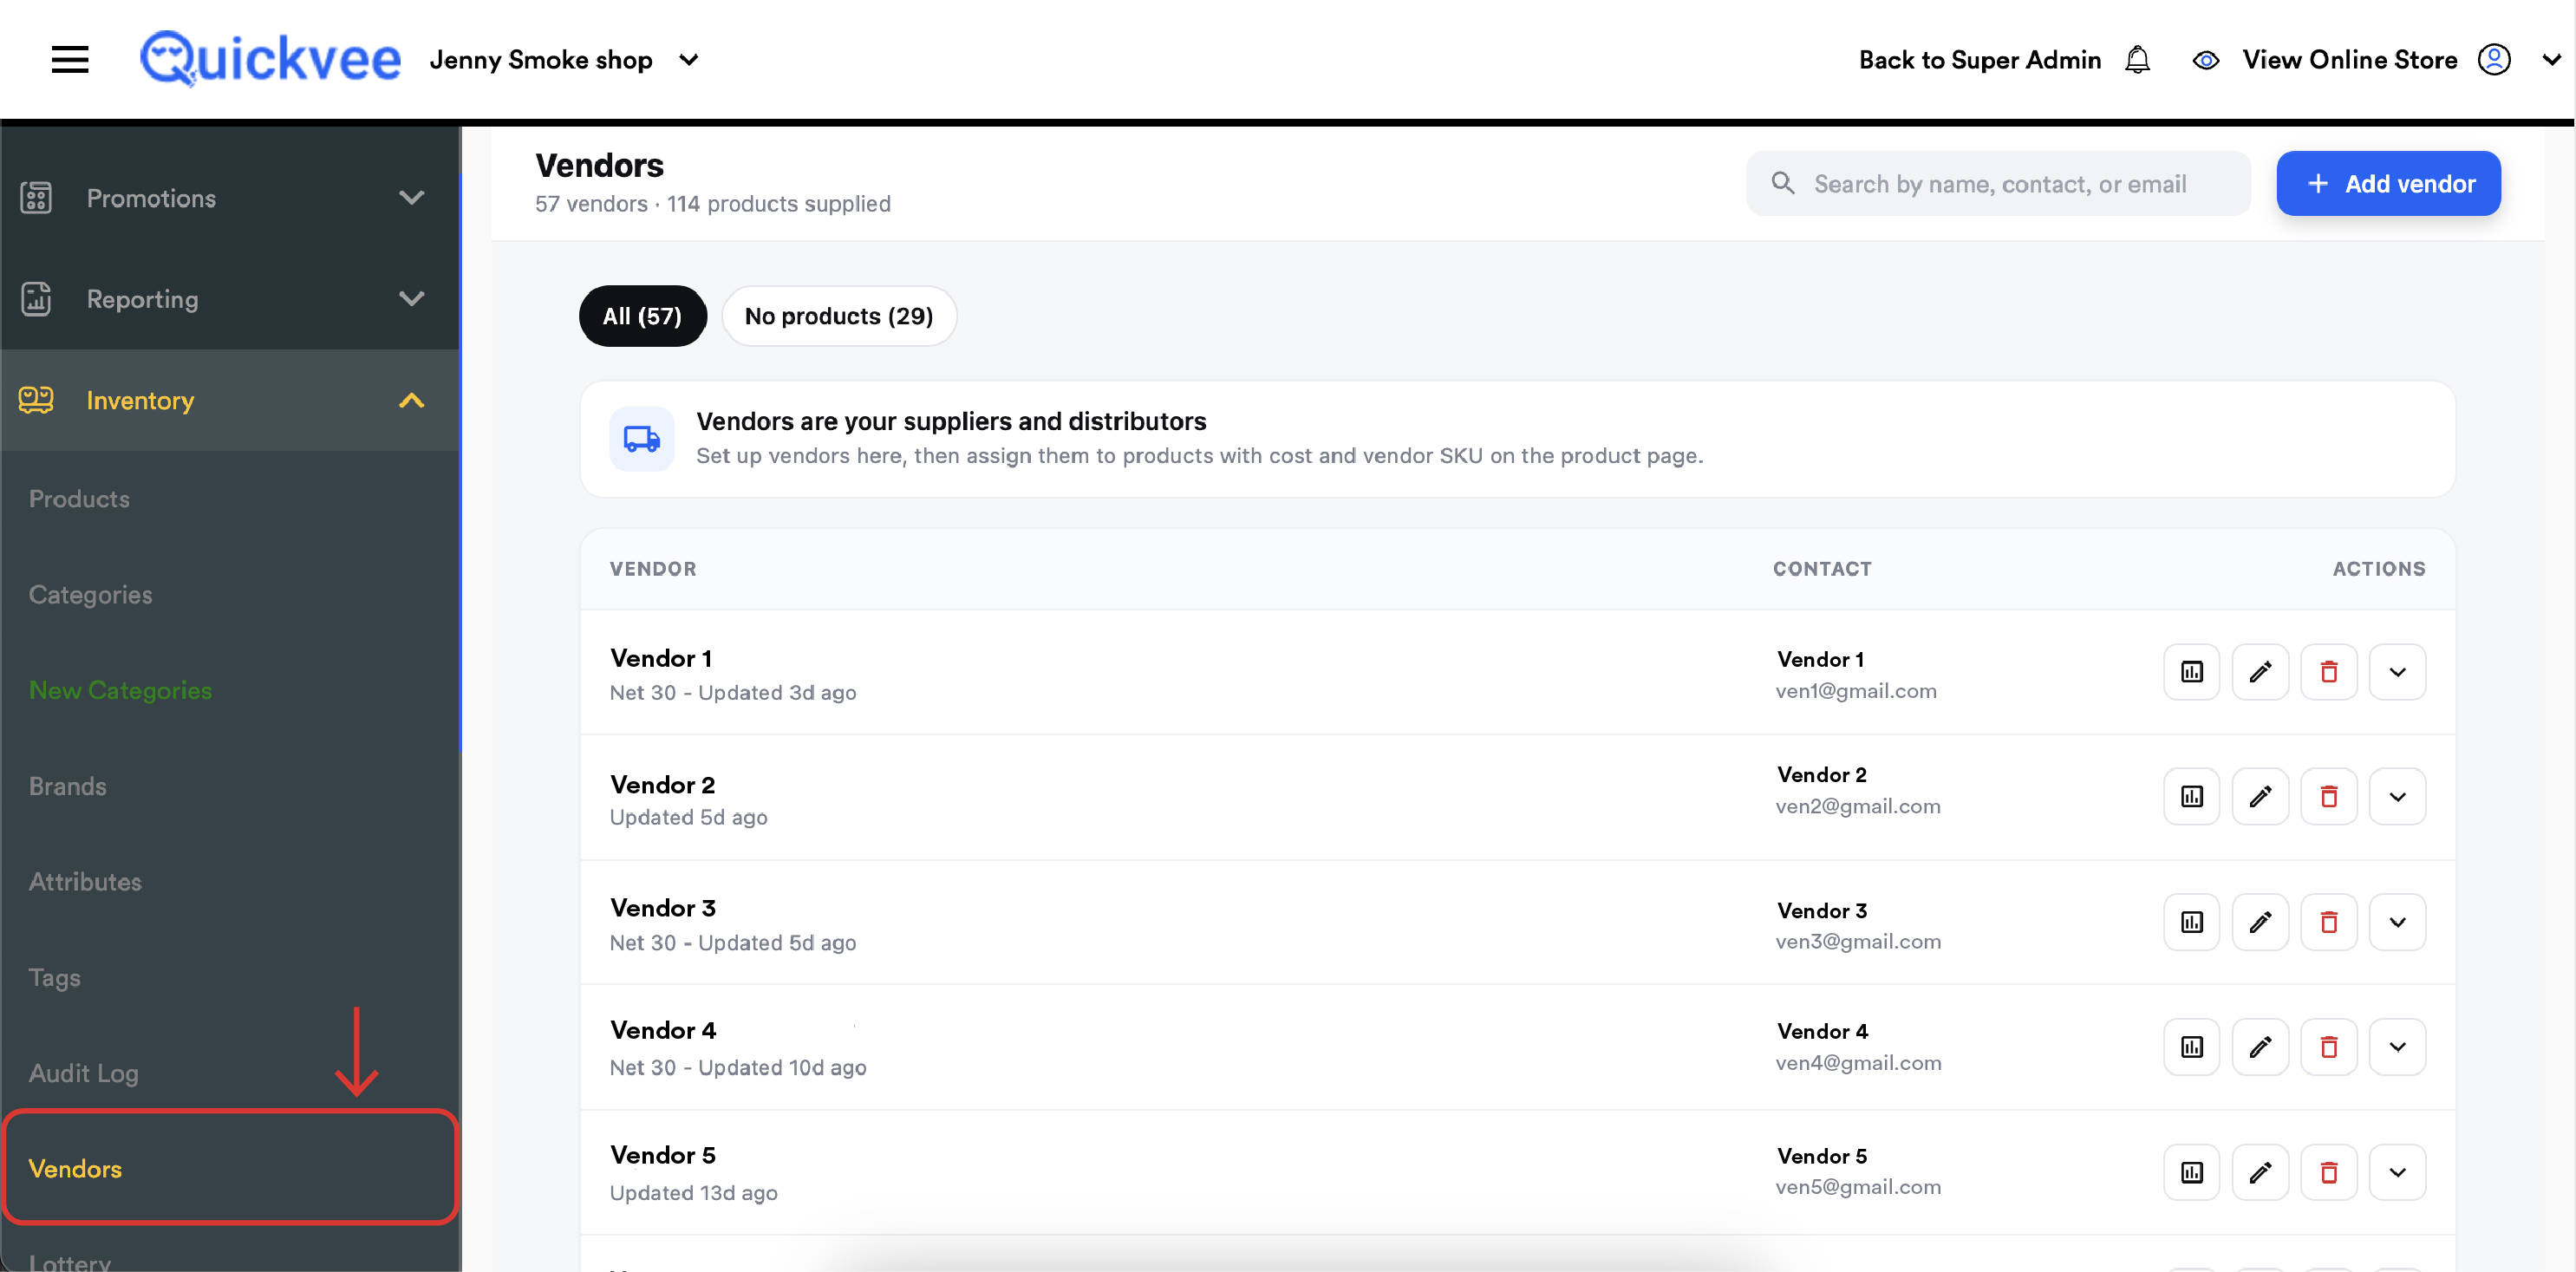
From the web backend, open the left menu and expand Inventory, then select Vendors. The page opens with your vendor list, plus a summary line showing the vendor count and how many products they supply.
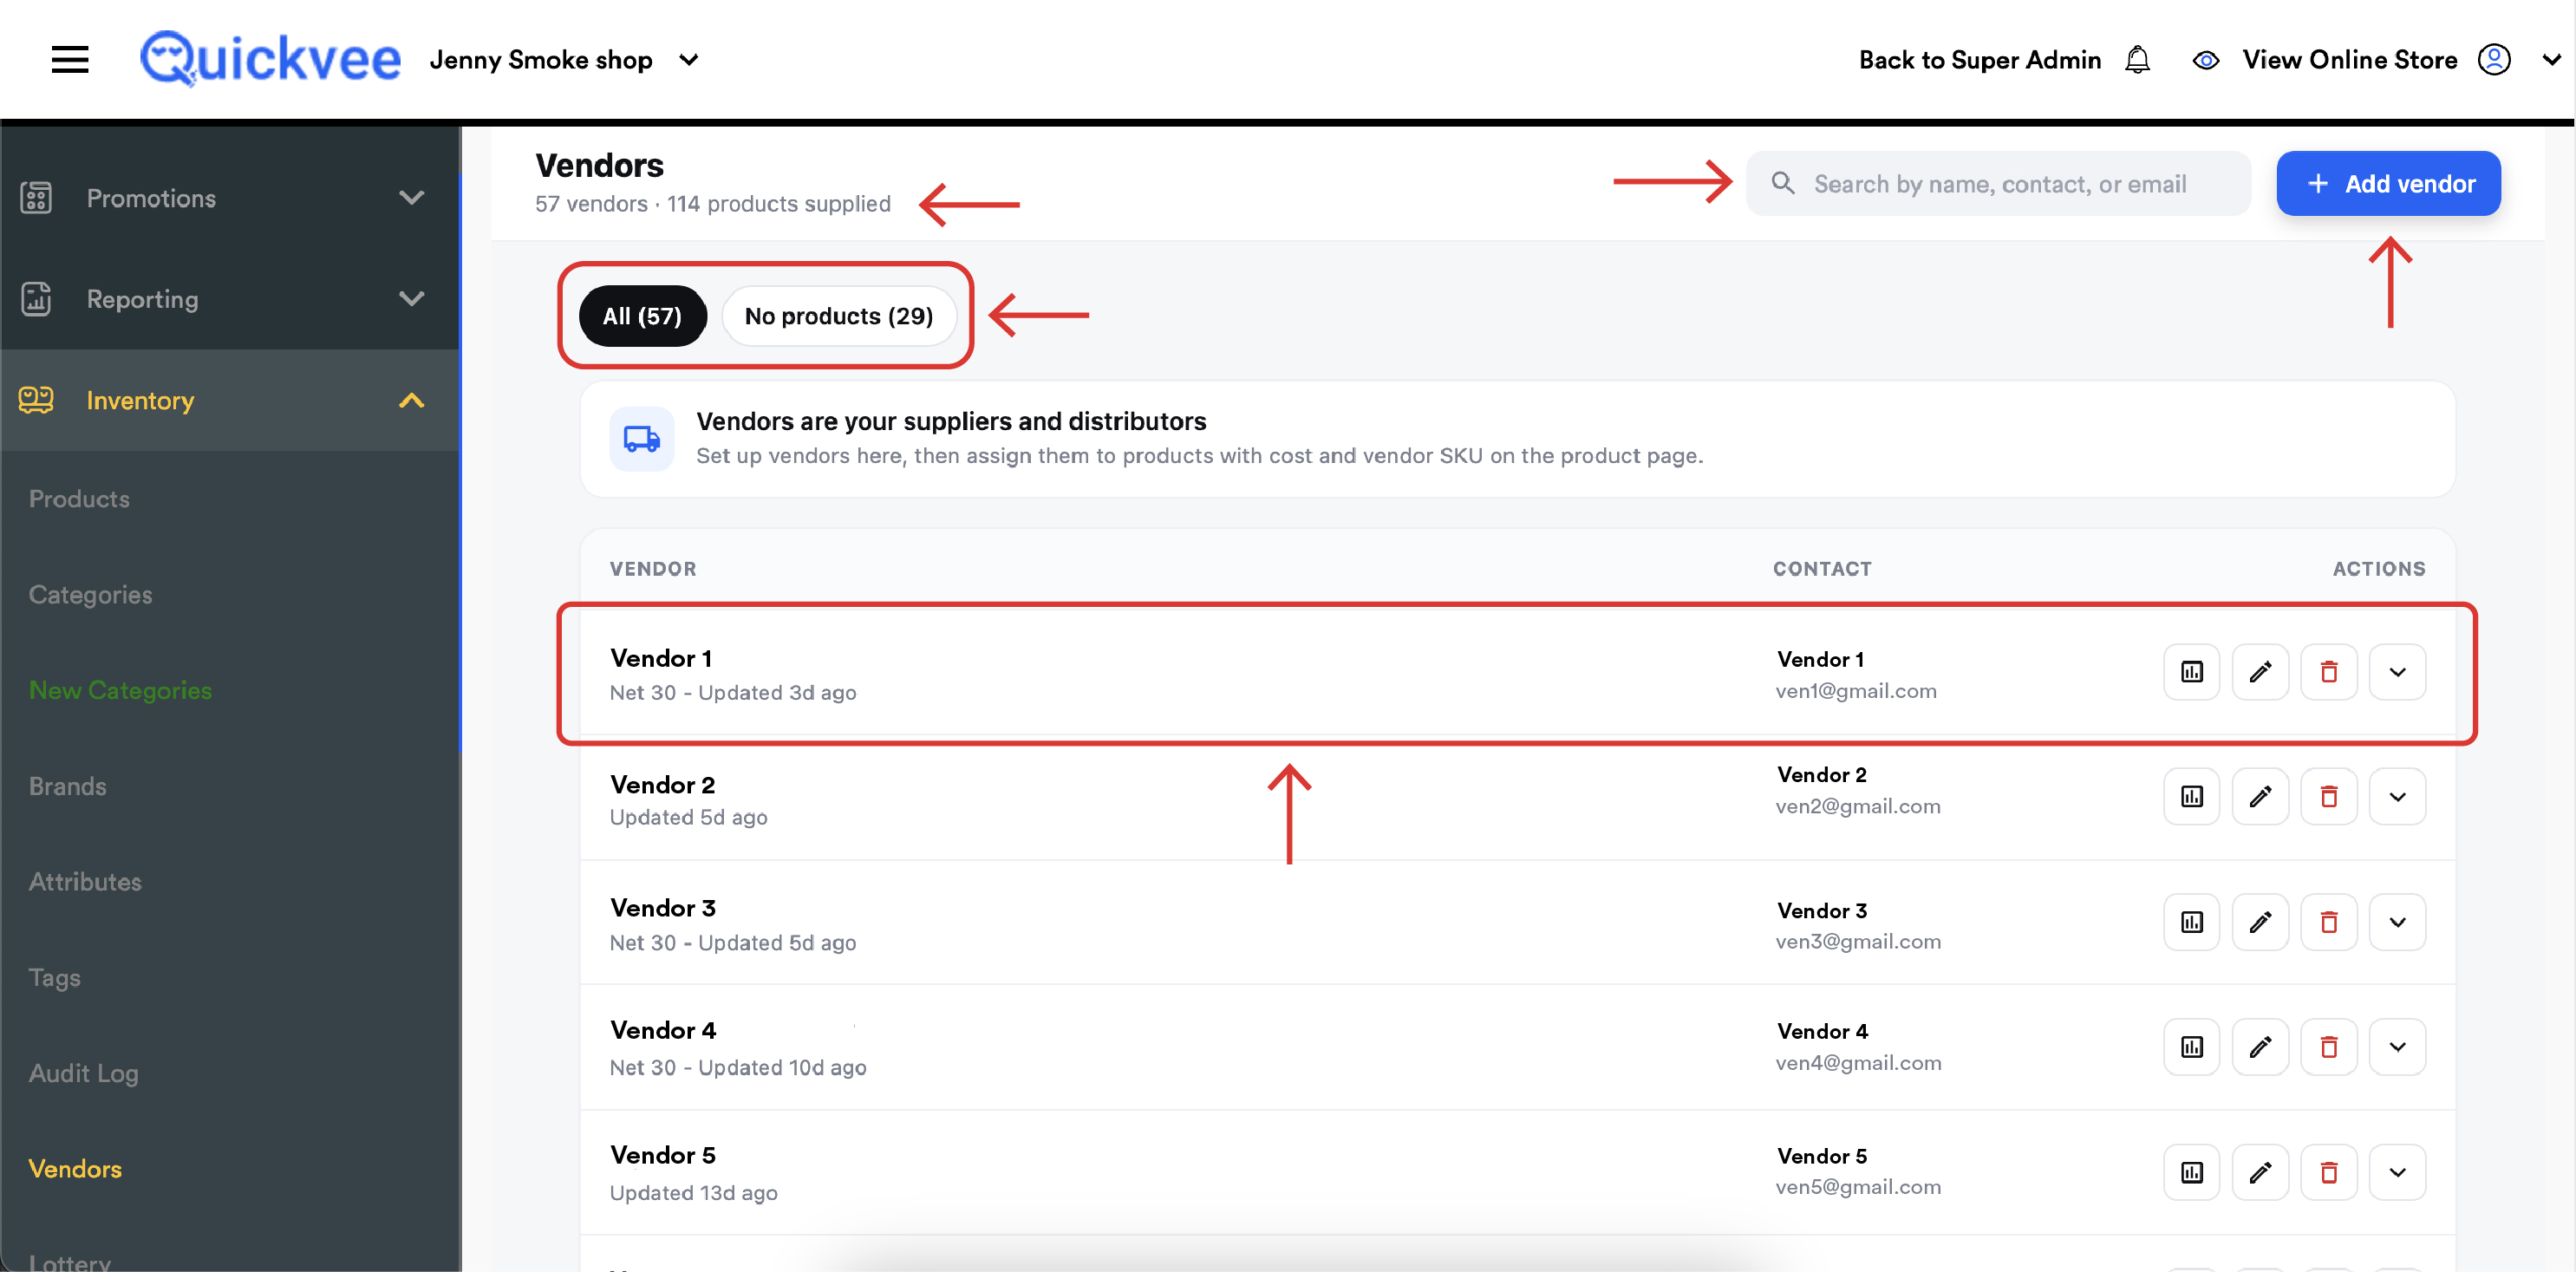
Page overview
|
Element |
What it does |
|---|---|
|
Summary line |
Shown under the page title, total vendors and total products supplied across them. |
|
Search |
Find a vendor by name, contact, or email. |
|
+ Add vendor |
Opens the form to create a new vendor. |
|
All / No products |
Filter chips with live counts. No products isolates vendors that haven't been assigned to any product yet, your setup to-do list. |
|
Vendor row |
Shows the vendor name, when it was last updated, and the contact email. |
|
Expand (chevron) |
Opens the vendor's details inline, right below the row. |
|
Edit (pencil) |
Opens the vendor's details for changes. |
|
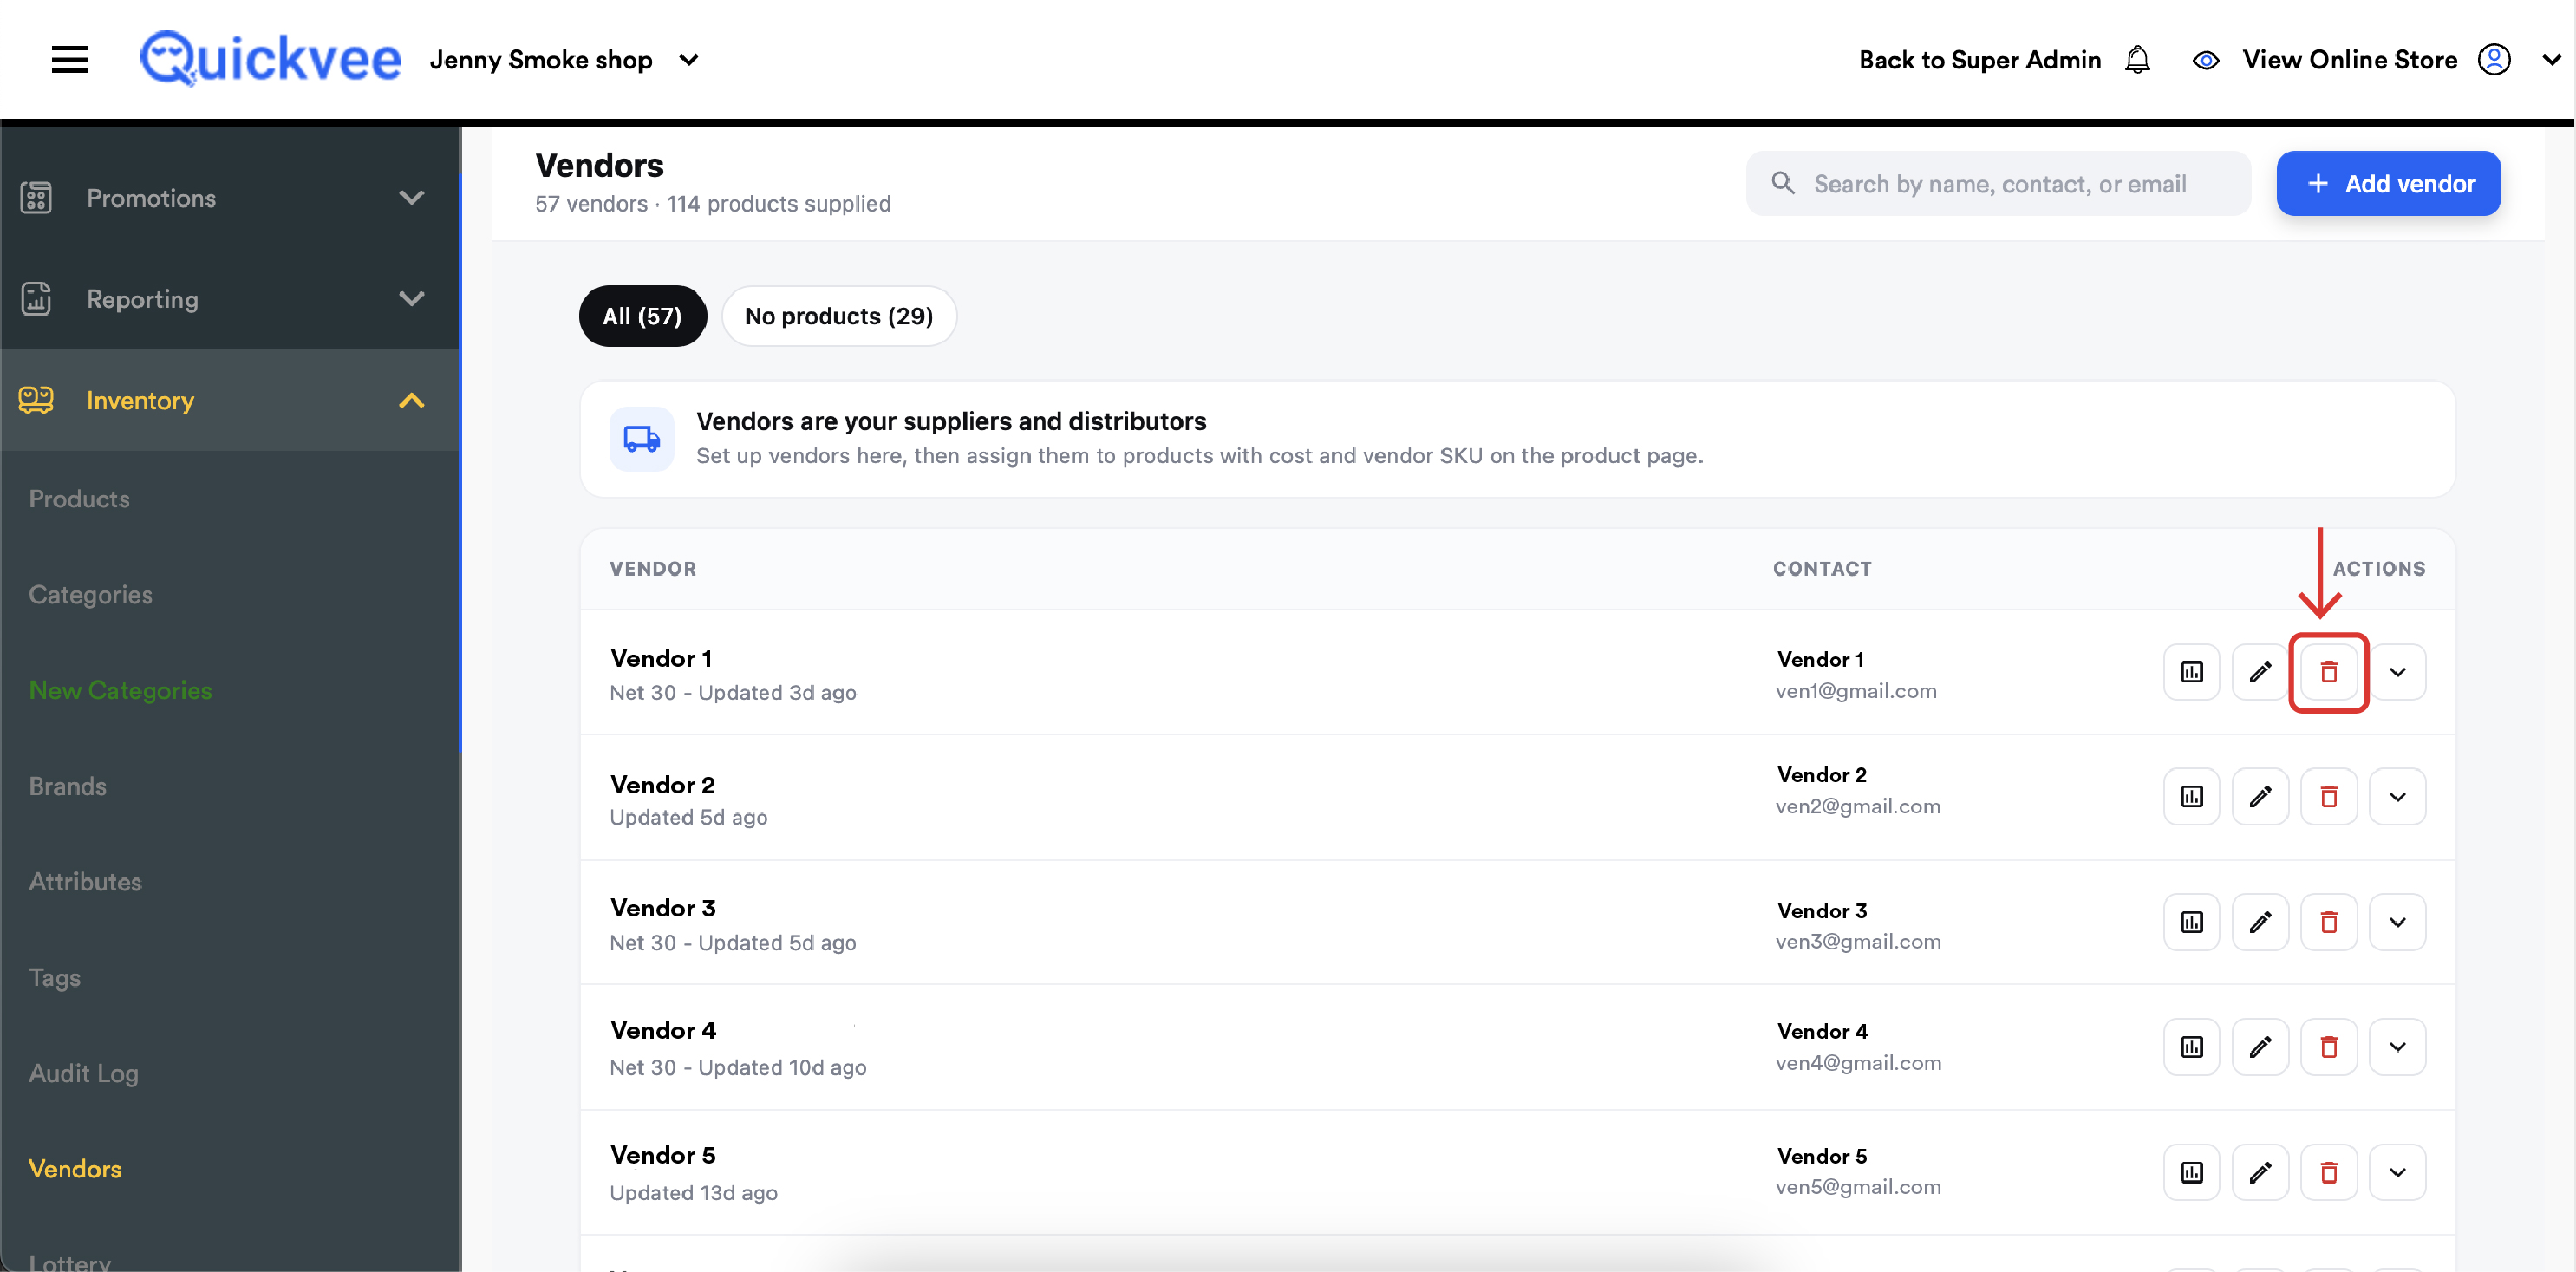
Delete (trash) |
Removes the vendor from your store. |
Adding a vendor
-
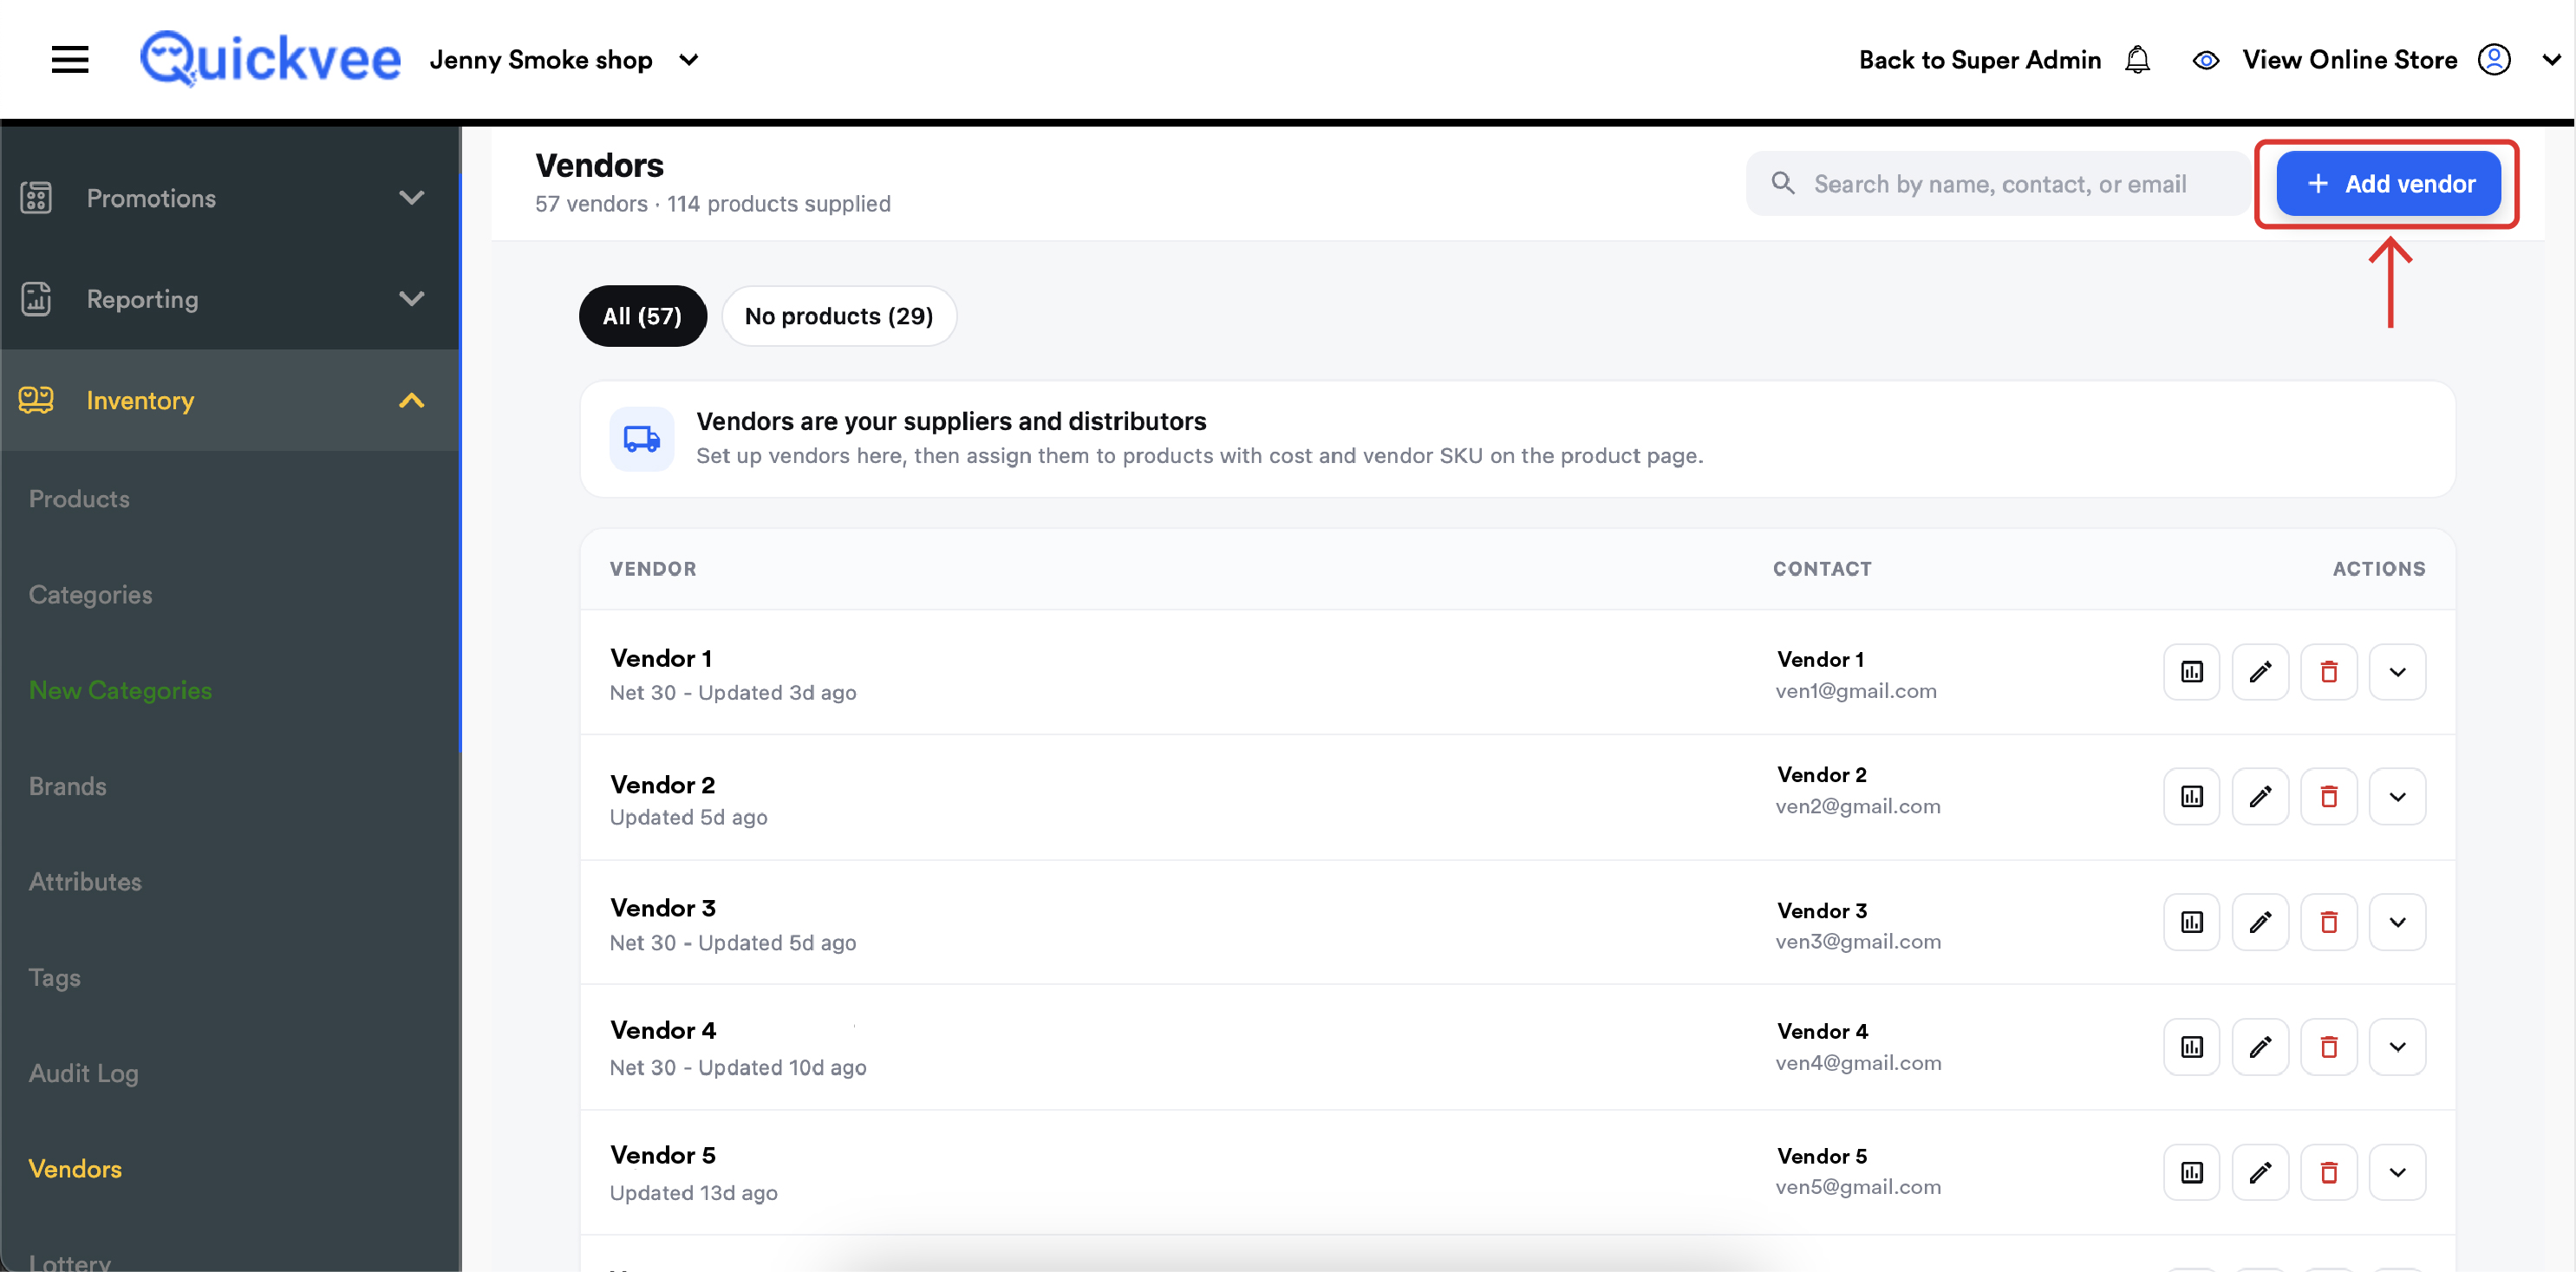
Click + Add vendor in the top-right corner of the page.
-
Fill in the vendor's details:
-20260716-090112.jpg?cb=bd179f70b96f685d49563c467875d65a)
|
Field |
Required |
Notes |
|---|---|---|
|
Vendor Name |
Yes |
The supplier's business name. Special characters aren't accepted, and the first letter is capitalized automatically. |
|
Contact Name |
No |
Your rep or point of contact at the supplier. |
|
Phone Number |
Yes |
The vendor's contact number. |
|
|
No |
Used for contact and shown in the vendor list. Each vendor's email must be unique. |
|
Payment Terms |
No |
Select the terms you've agreed with this supplier: Net 15, Net 30, Net 45, Net 60, Due on receipt, or Prepaid. |
-
Save the vendor. It's immediately available to assign on products, to select when building purchase orders, and to receive payouts from the register.
💡 Tip. Record payment terms as you onboard each vendor even if you don't need them today, when you're juggling a dozen suppliers, knowing at a glance who's Net 30 and who wants payment on receipt keeps your cash planning honest.
Viewing and editing a vendor
-
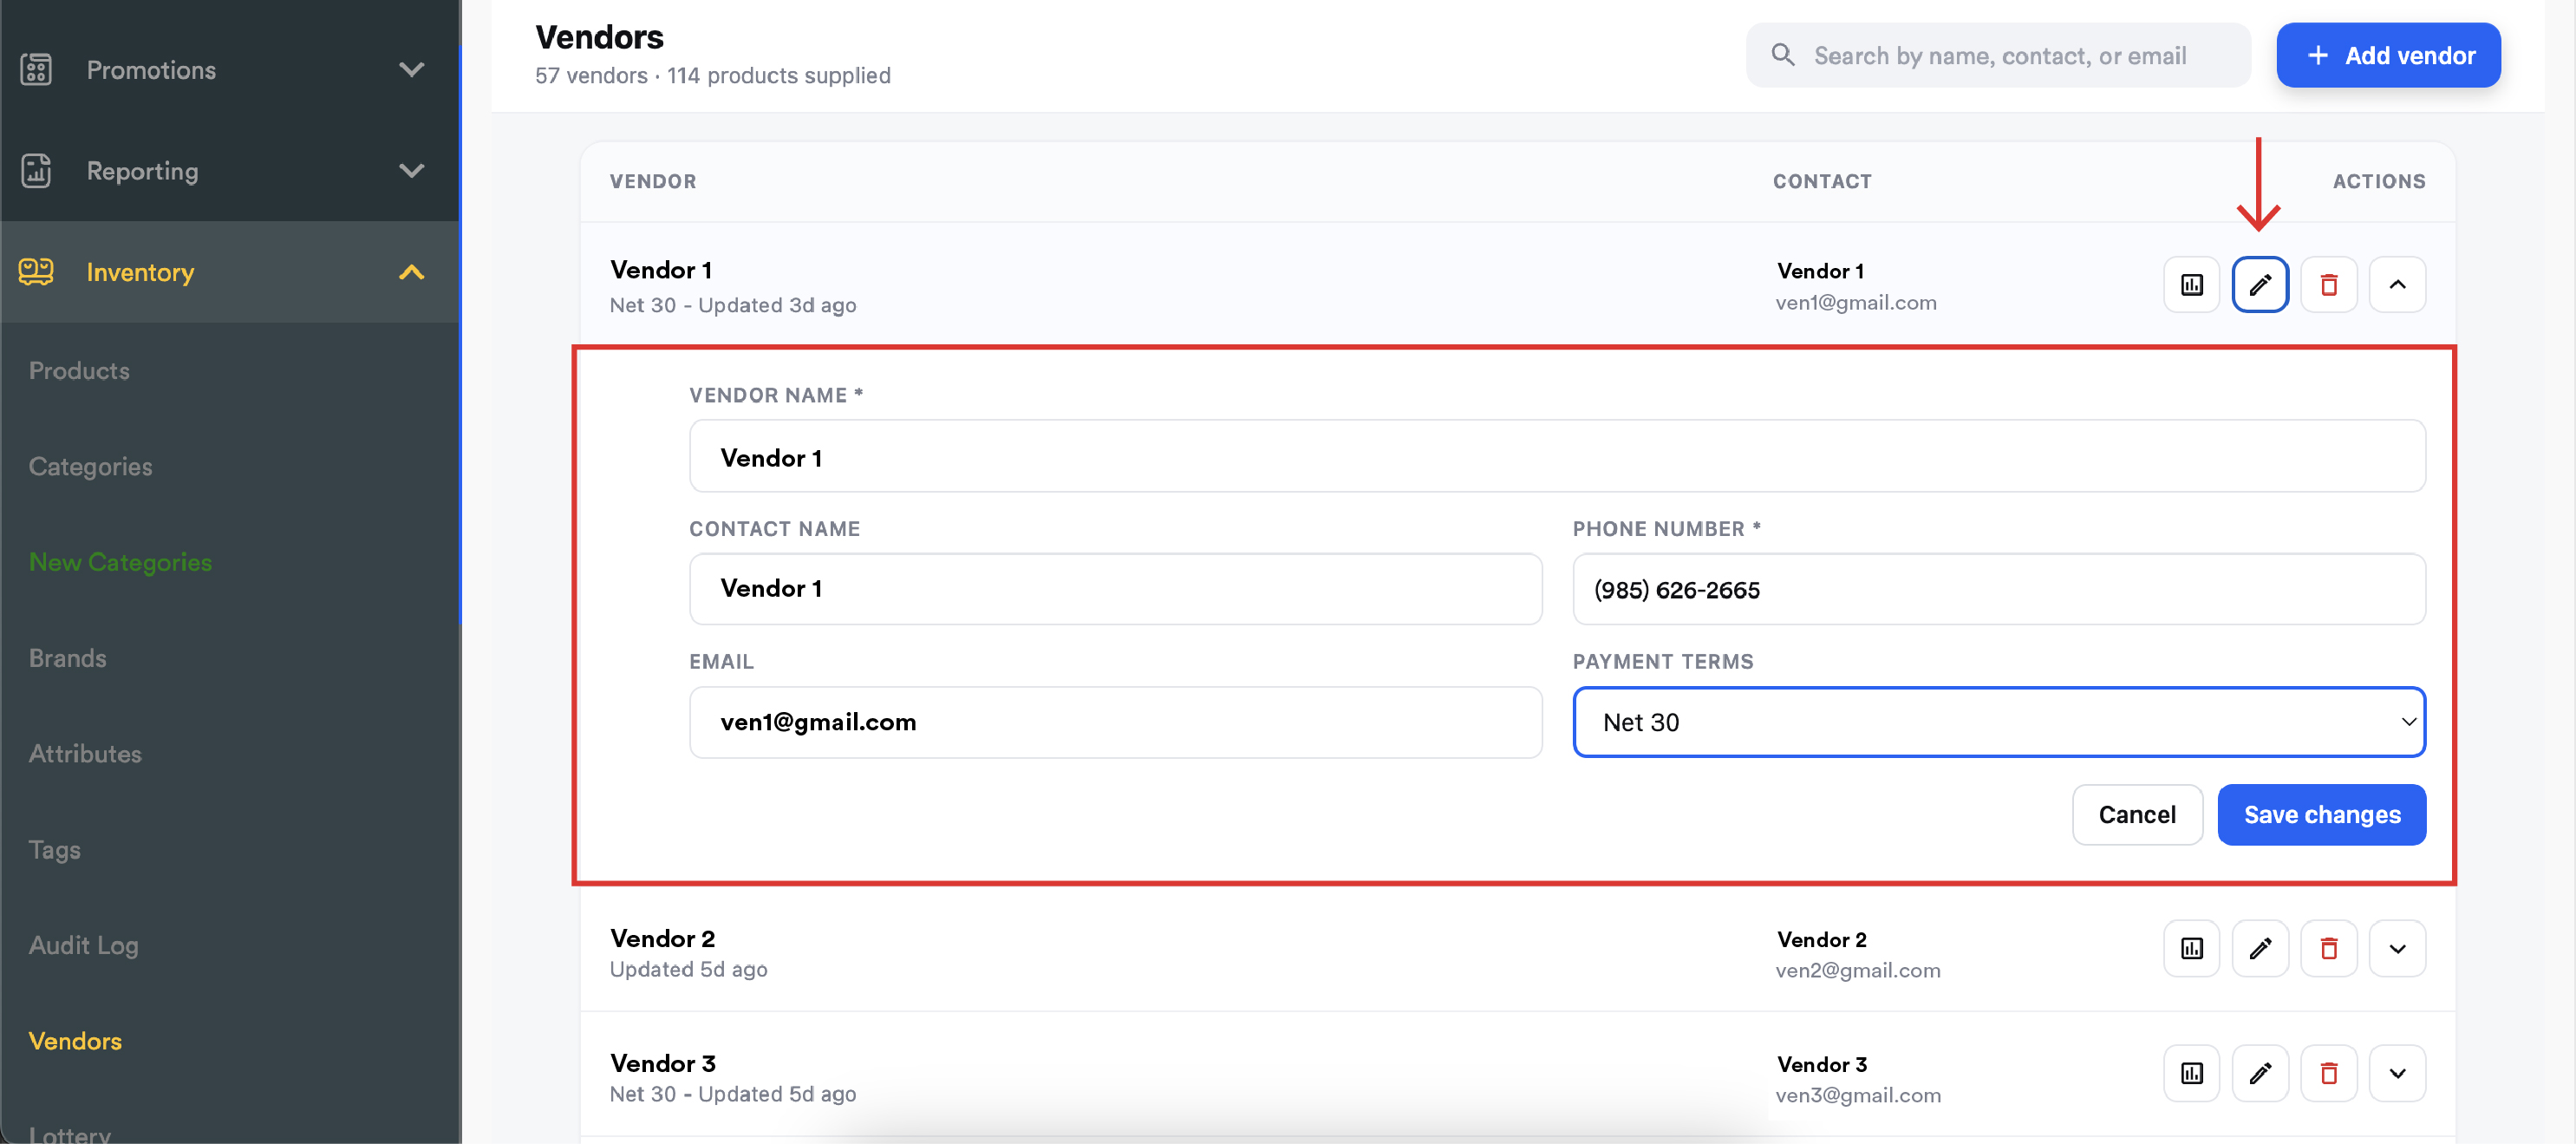
Tap or click a vendor's row (or the chevron) to expand its full details inline, no separate page.
-
Click the pencil icon to make the fields editable.
-
Update the name, contact, phone, email, or payment terms.
-
Save your changes. The row's "Updated" note refreshes.
📝 Duplicate protection applies on edit as well as creation, you can't save a vendor under an email that already belongs to another vendor.
Deleting a vendor
-
Click the trash icon on the vendor's row.
-
Confirm the deletion.
⚠️ Important. Delete only vendors created by mistake. For a supplier you've stopped ordering from, keep the record, your purchase order history, payout history, and vendor reports reference it.
Vendor transaction history
Every payout recorded against a vendor is logged to its transaction history, giving you a running record of what you've paid each supplier from the register.
Opening a vendor's transactions
-
From the Vendors list, open the vendor whose history you want to review.
-
The transaction view opens with the vendor's name and total transaction count at the top. Use the back arrow to return to the vendor list.
Filtering by date
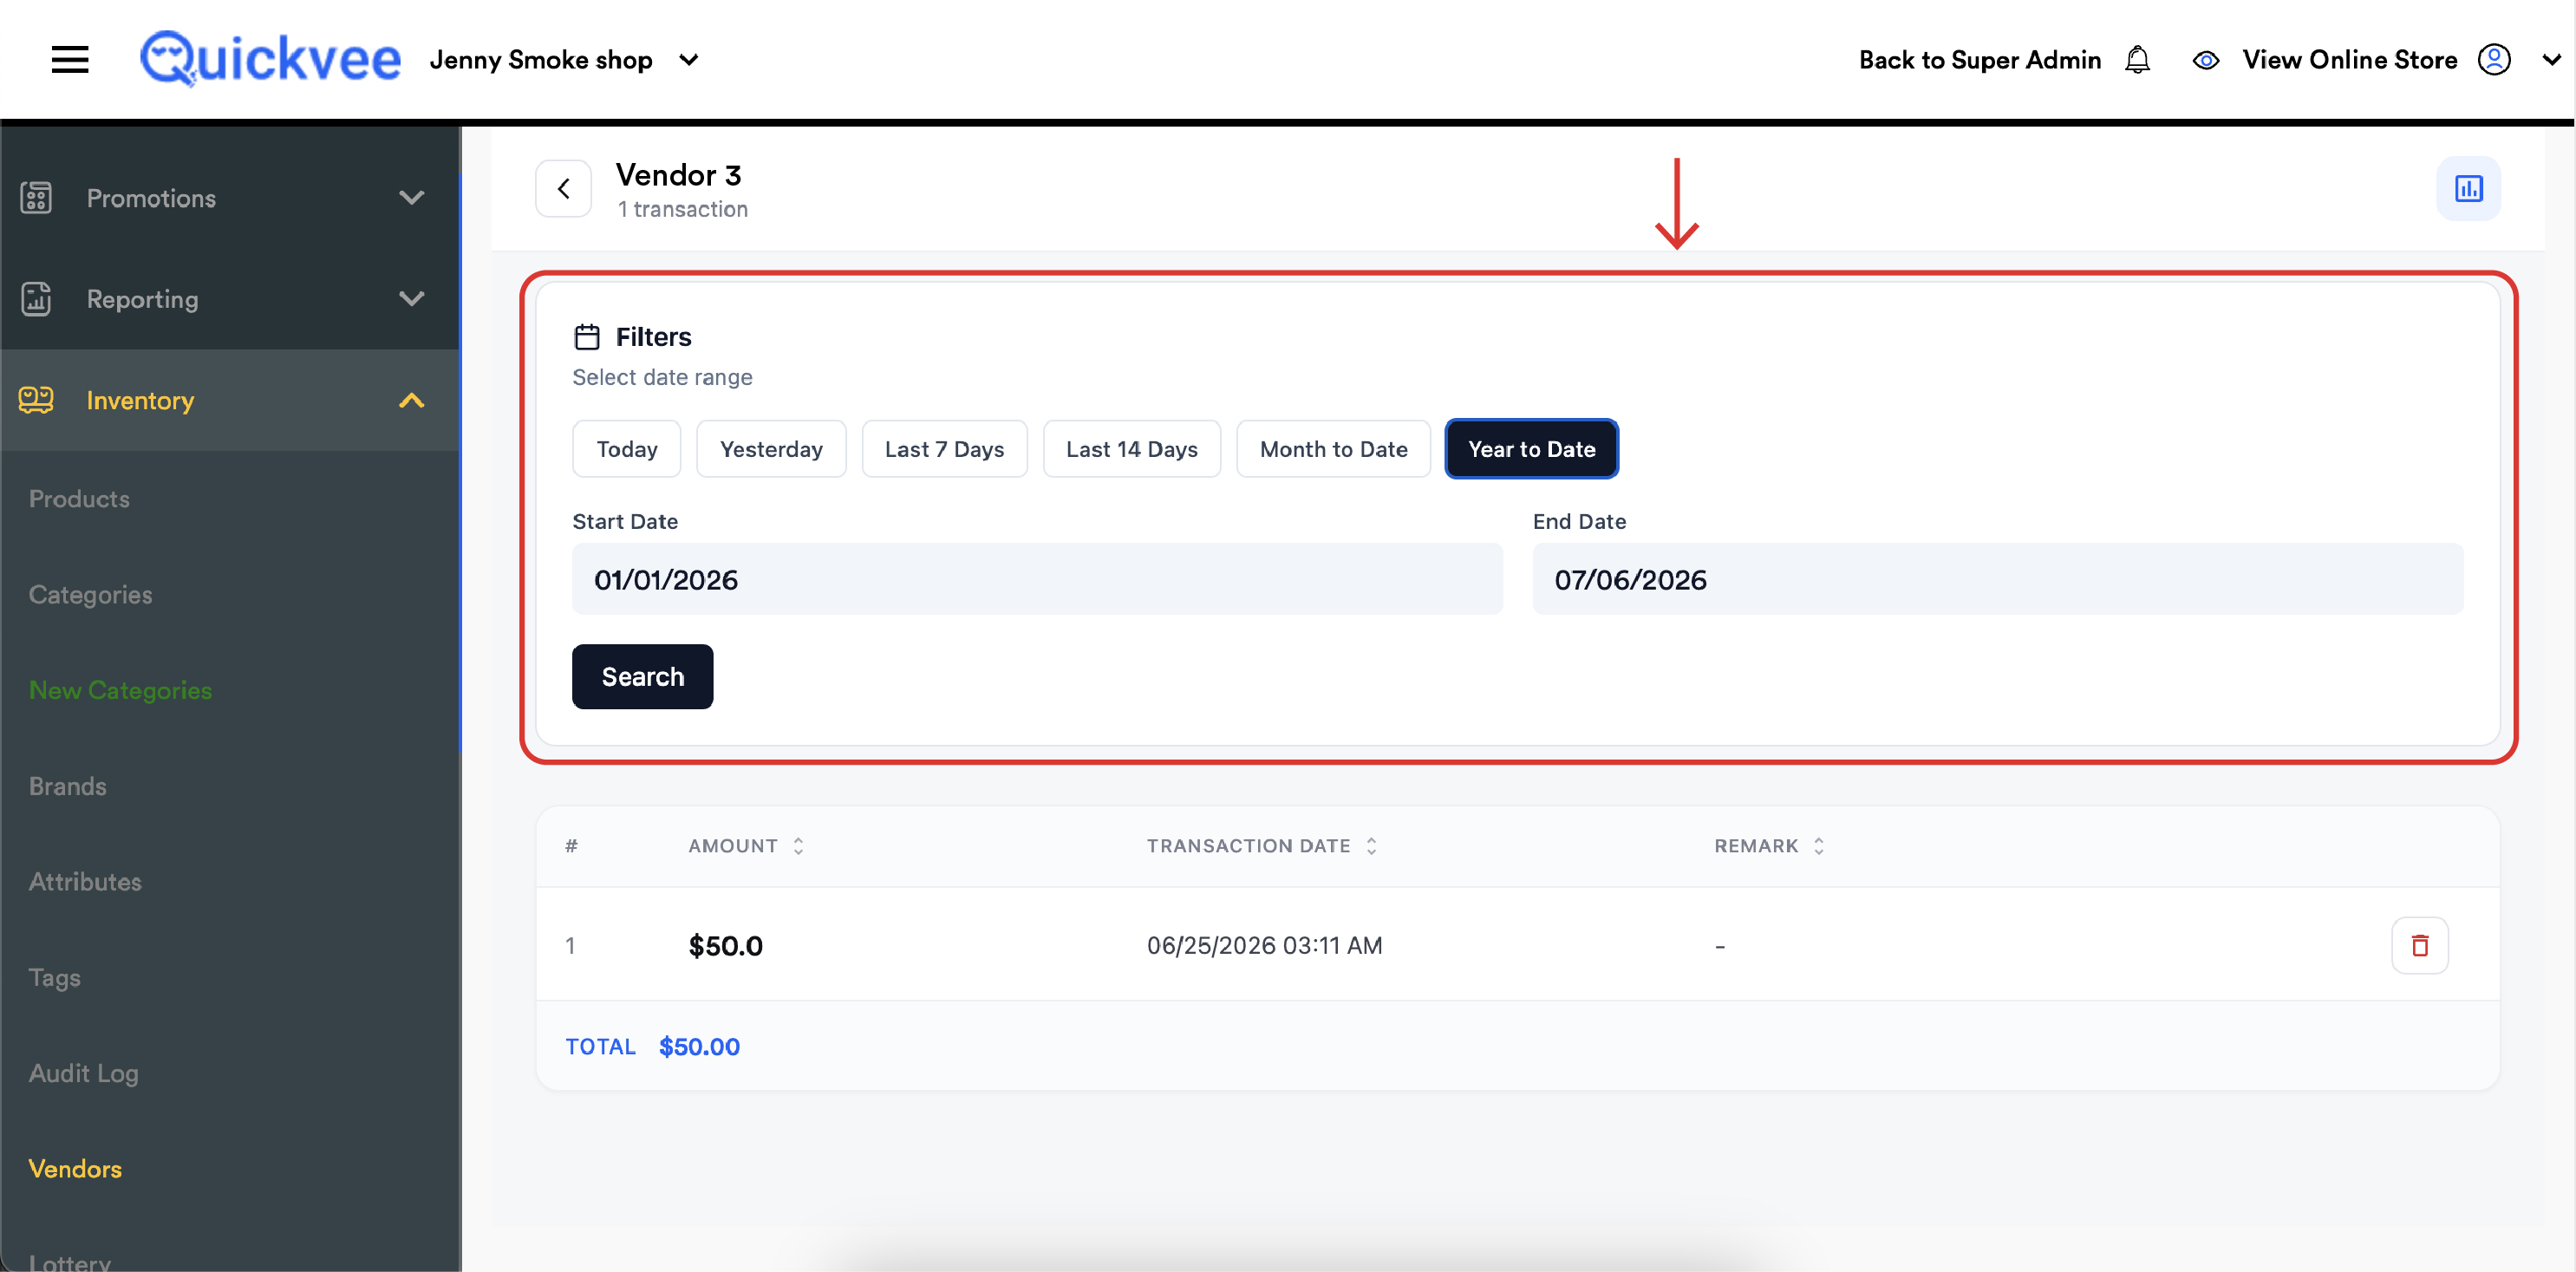
Use the Filters panel to narrow the results:
|
Control |
What it does |
|---|---|
|
Quick ranges |
One-tap presets: Today, Yesterday, Last 7 Days, Last 14 Days, Month to Date, Year to Date. |
|
Start Date / End Date |
Set a custom range for anything the presets don't cover. |
|
Search |
Applies the selected range and refreshes the list. |
Reading the transaction list
|
Column |
What it shows |
|---|---|
|
# |
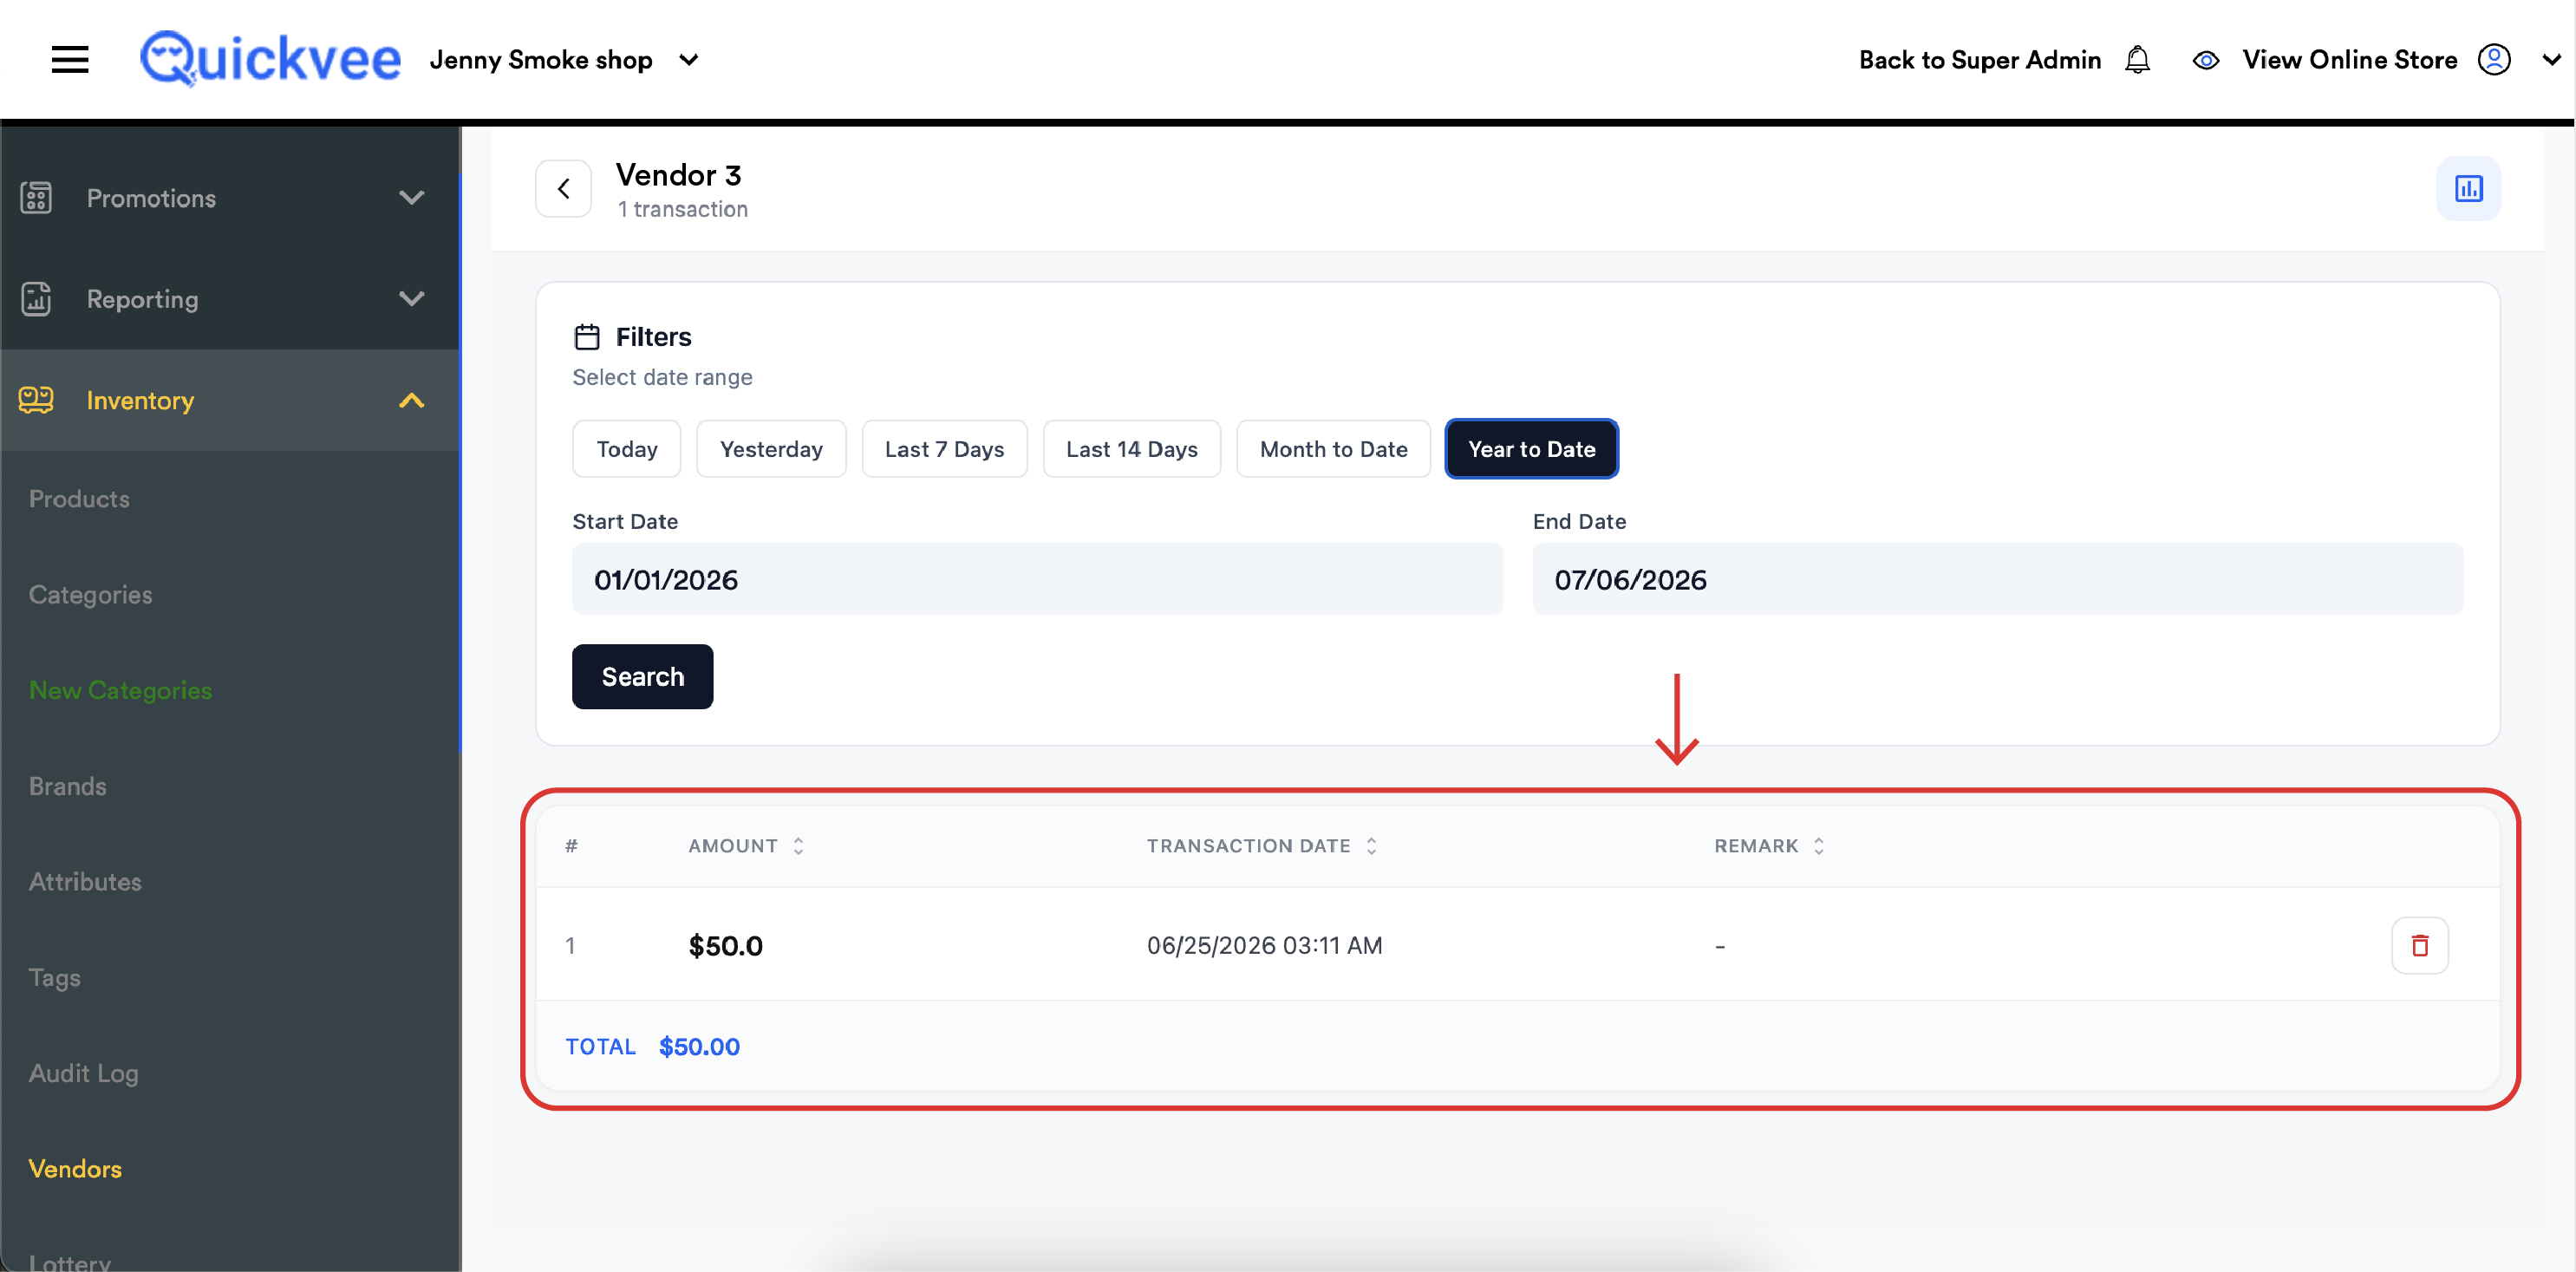
Row number within the filtered results. |
|
Amount |
The payout amount recorded against this vendor. |
|
Transaction Date |
Date and time the payout was recorded. |
|
Remark |
The note entered when the payout was taken, the reason or reference. A dash means no remark was entered. |
|
Total |
Sum of all payouts in the current filtered range, shown at the bottom of the list. |
Columns are sortable, so you can order by amount or date to spot the largest or most recent payouts quickly.
💡 Tip. Run Month to Date per vendor before settling invoices, the Total line tells you exactly how much has already been paid out from the drawer to that supplier this month, so cash payouts don't get double-counted against invoice payments.
📝 Payouts in this history are created from the POS register using the Vendor Payout action in the register's three-dot menu. See the Vendor Payout article for the cashier-side flow, including cash-out versus product purchase and exchange scenarios.
Connecting vendors to products
Setting up the vendor is step one; the payoff comes from the product side:
-
Open a product in Products and edit it.
-
Assign the vendor, your cost from that vendor, and the vendor SKU (the supplier's own item number).
-
Save. The vendor's "products supplied" count on this page updates, and the product is now tied into vendor-based purchasing and reporting.
✅ Best practice. Work the No products filter down to zero. A vendor with no assigned products can't feed purchase orders or vendor reports, it's just a name in a list. Assign products as soon as the vendor is created, while the catalog details are fresh.
Where vendors are used across Quickvee
|
Surface |
How the vendor record is used |
|---|---|
|
Purchase Orders |
Select the vendor when raising a PO; their products and costs flow in. |
|
Product page |
Vendor, cost, and vendor SKU live on each product. |
|
Vendor reports |
Sales and margin reporting grouped by supplier. |
|
Vendor Payout (POS) |
Cashiers record cash paid out to a delivering vendor against the drawer. |
|
Transaction History |
Every payout accumulates on the vendor's record for review and reconciliation. |
Common questions
Q. Is email required for a vendor?
A. No, vendor name and phone number are the required fields. Email is optional, but if entered it must be unique to that vendor.
Q. Why can't I save a vendor name with symbols in it?
A. Special characters are stripped from vendor names to keep the list clean and searchable. Stick to letters, numbers, and spaces.
Q. What does the "No products" filter mean?
A. It lists vendors that exist in your store but haven't been assigned to any product yet. Use it as a checklist for finishing vendor setup.
Q. Can I stop certain employees from changing vendors?
A. Yes, vendor management is controlled by employee permissions, including Edit Vendor and Disable Vendor. Employees without those permissions can't alter your vendor records.
Q. Do payment terms affect anything automatically?
A. Payment terms are reference information on the vendor record today, they document your agreement so anyone raising a PO or paying an invoice knows the terms at a glance.
Q. Why is the Remark column blank on some rows in transaction history?
A. The remark is optional when the cashier records the payout. Encourage your team to always enter one, "Friday delivery," "invoice #1042", so the history is auditable months later.
Q. Does the transaction Total include all payouts or just what I've filtered?
A. Just the filtered range. Change the date range and the Total recalculates.
Q. What's the difference between this page and Vendor Payout on the register?
A. This page manages vendor records and shows the accumulated payout history. Vendor Payout is a cash-drawer action on the POS register for paying a vendor from the till, every payout taken there lands in the transaction history here.