
The Brands page in the POS app's Inventory section lets you manage your product brands right from the register tablet, no need to switch to the web backend. Create, rename, reorder, and delete brands on the spot, with the same list your web backend and online store use. Changes here sync across your whole Quickvee setup.
📝 This page lives in the POS app's Inventory management area, not on the checkout register itself. Cashiers ringing up sales don't interact with brands, this screen is for managing your catalog from the tablet.
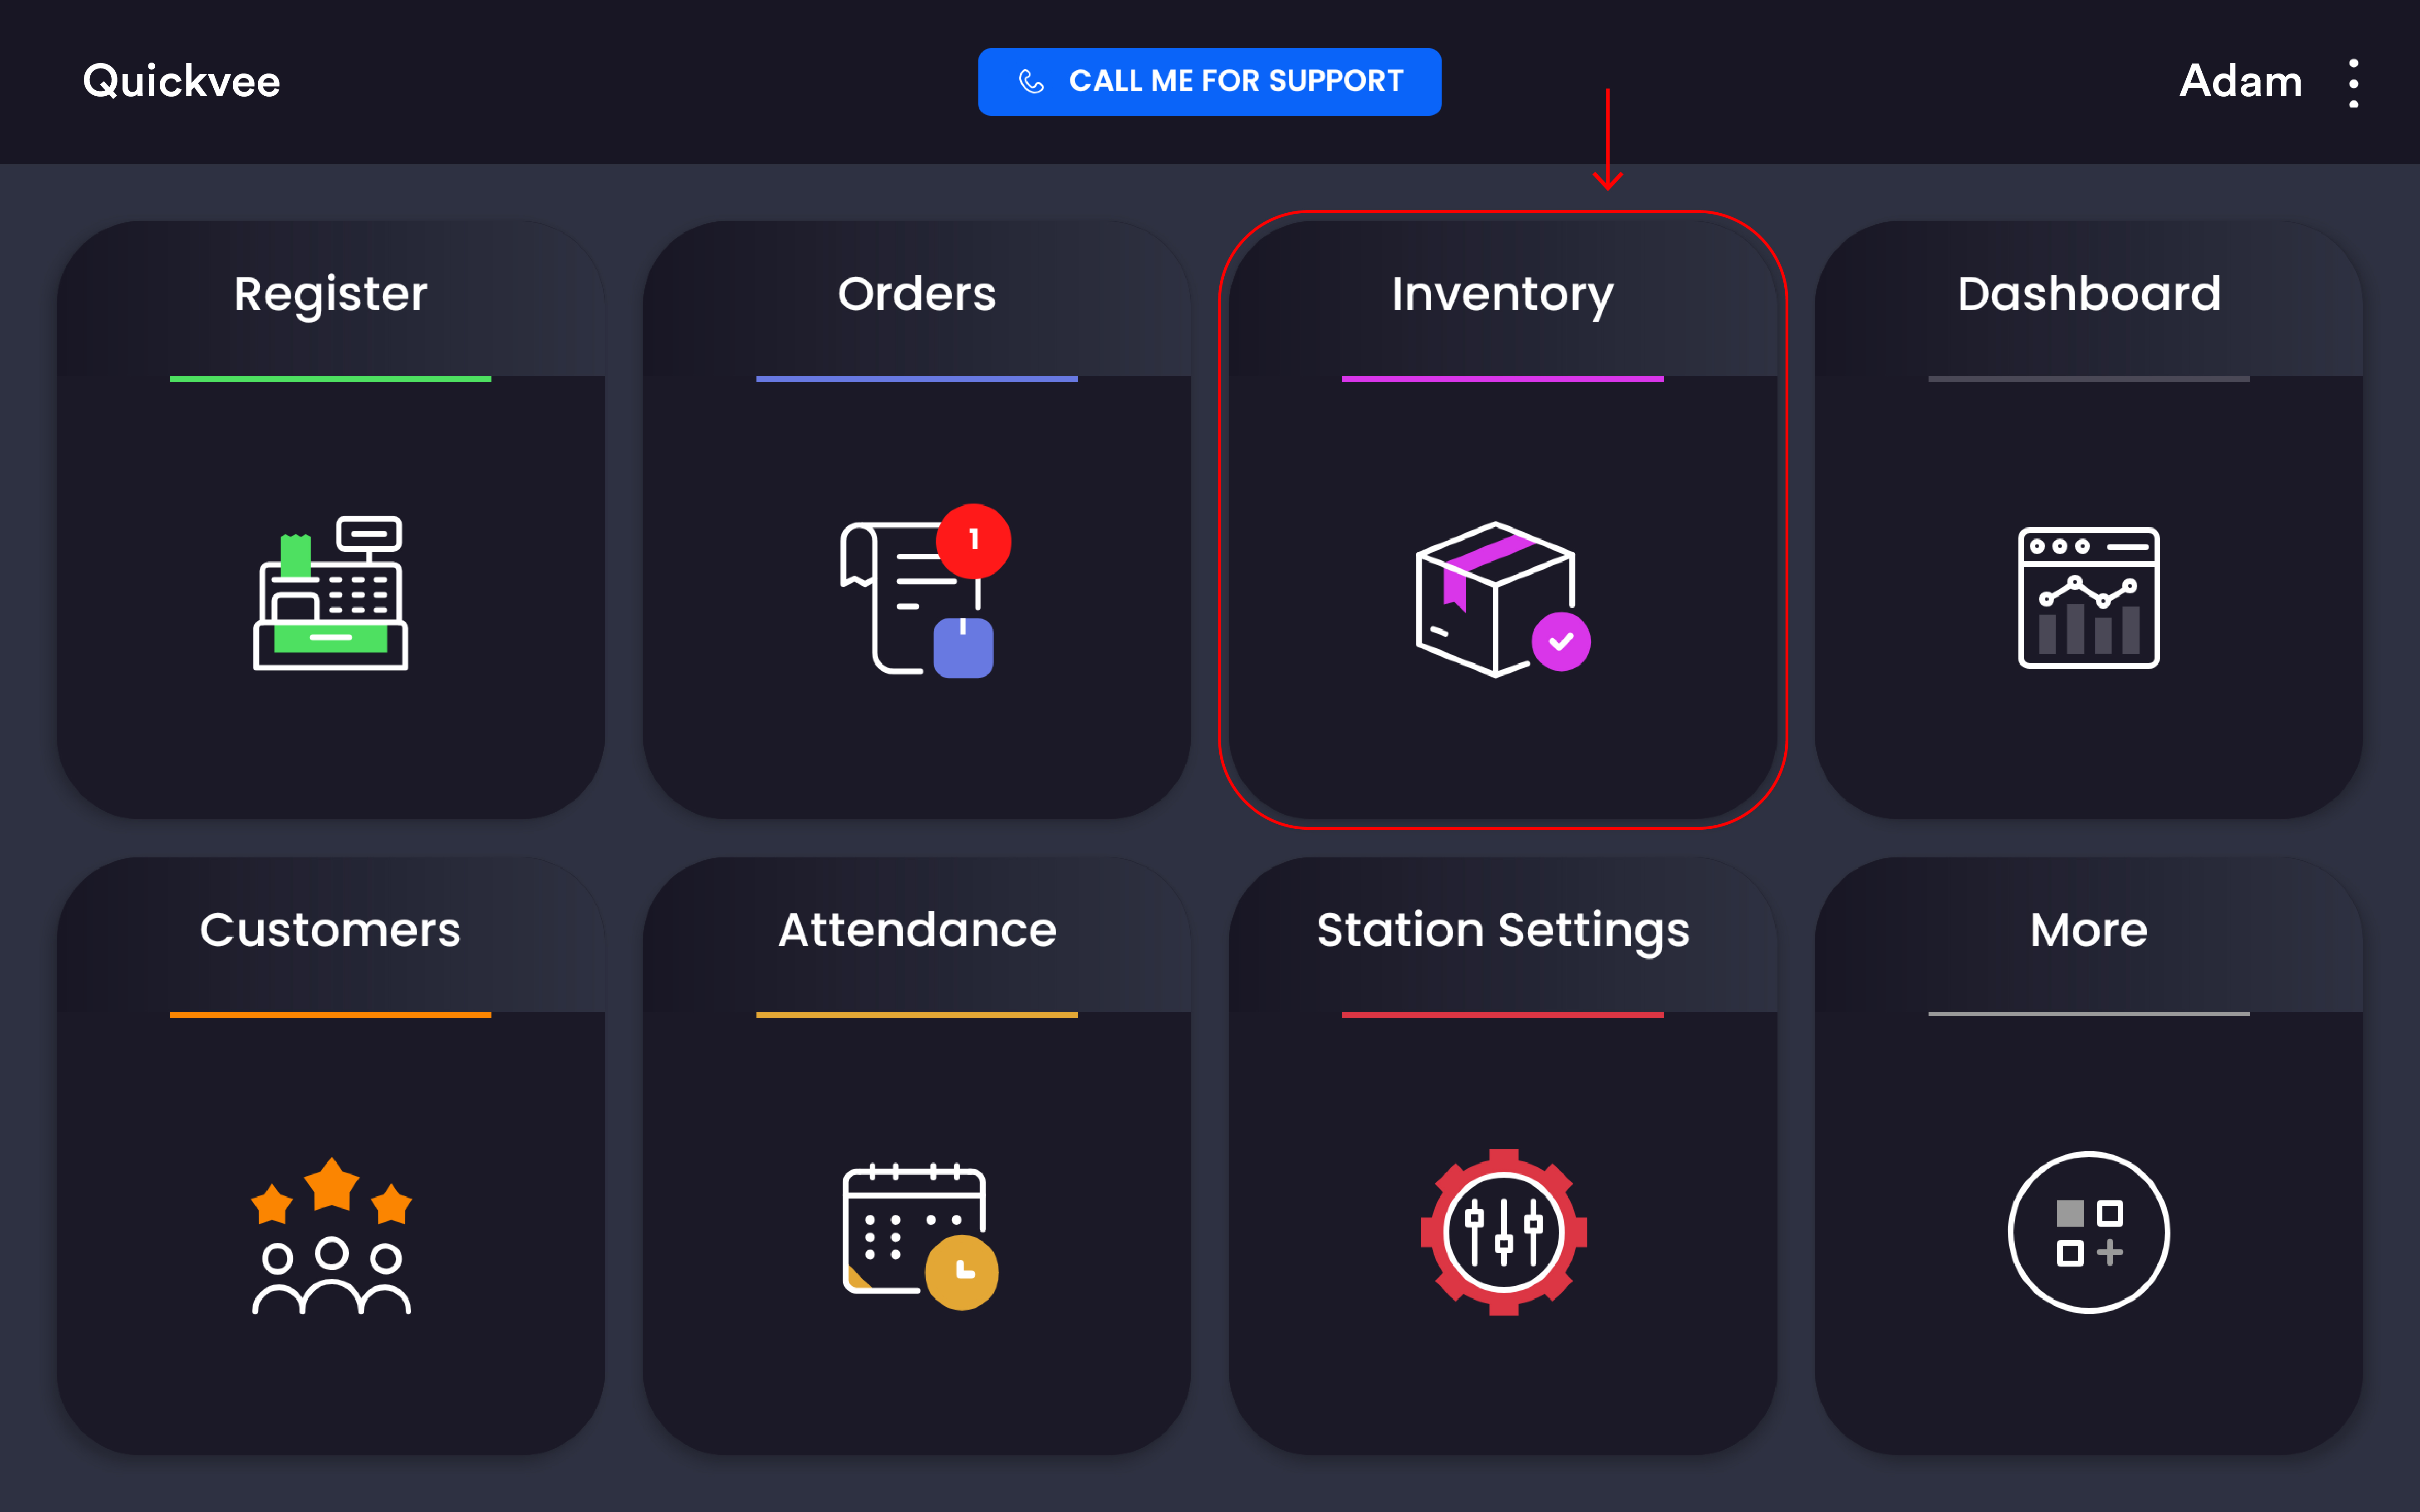
Where to find it
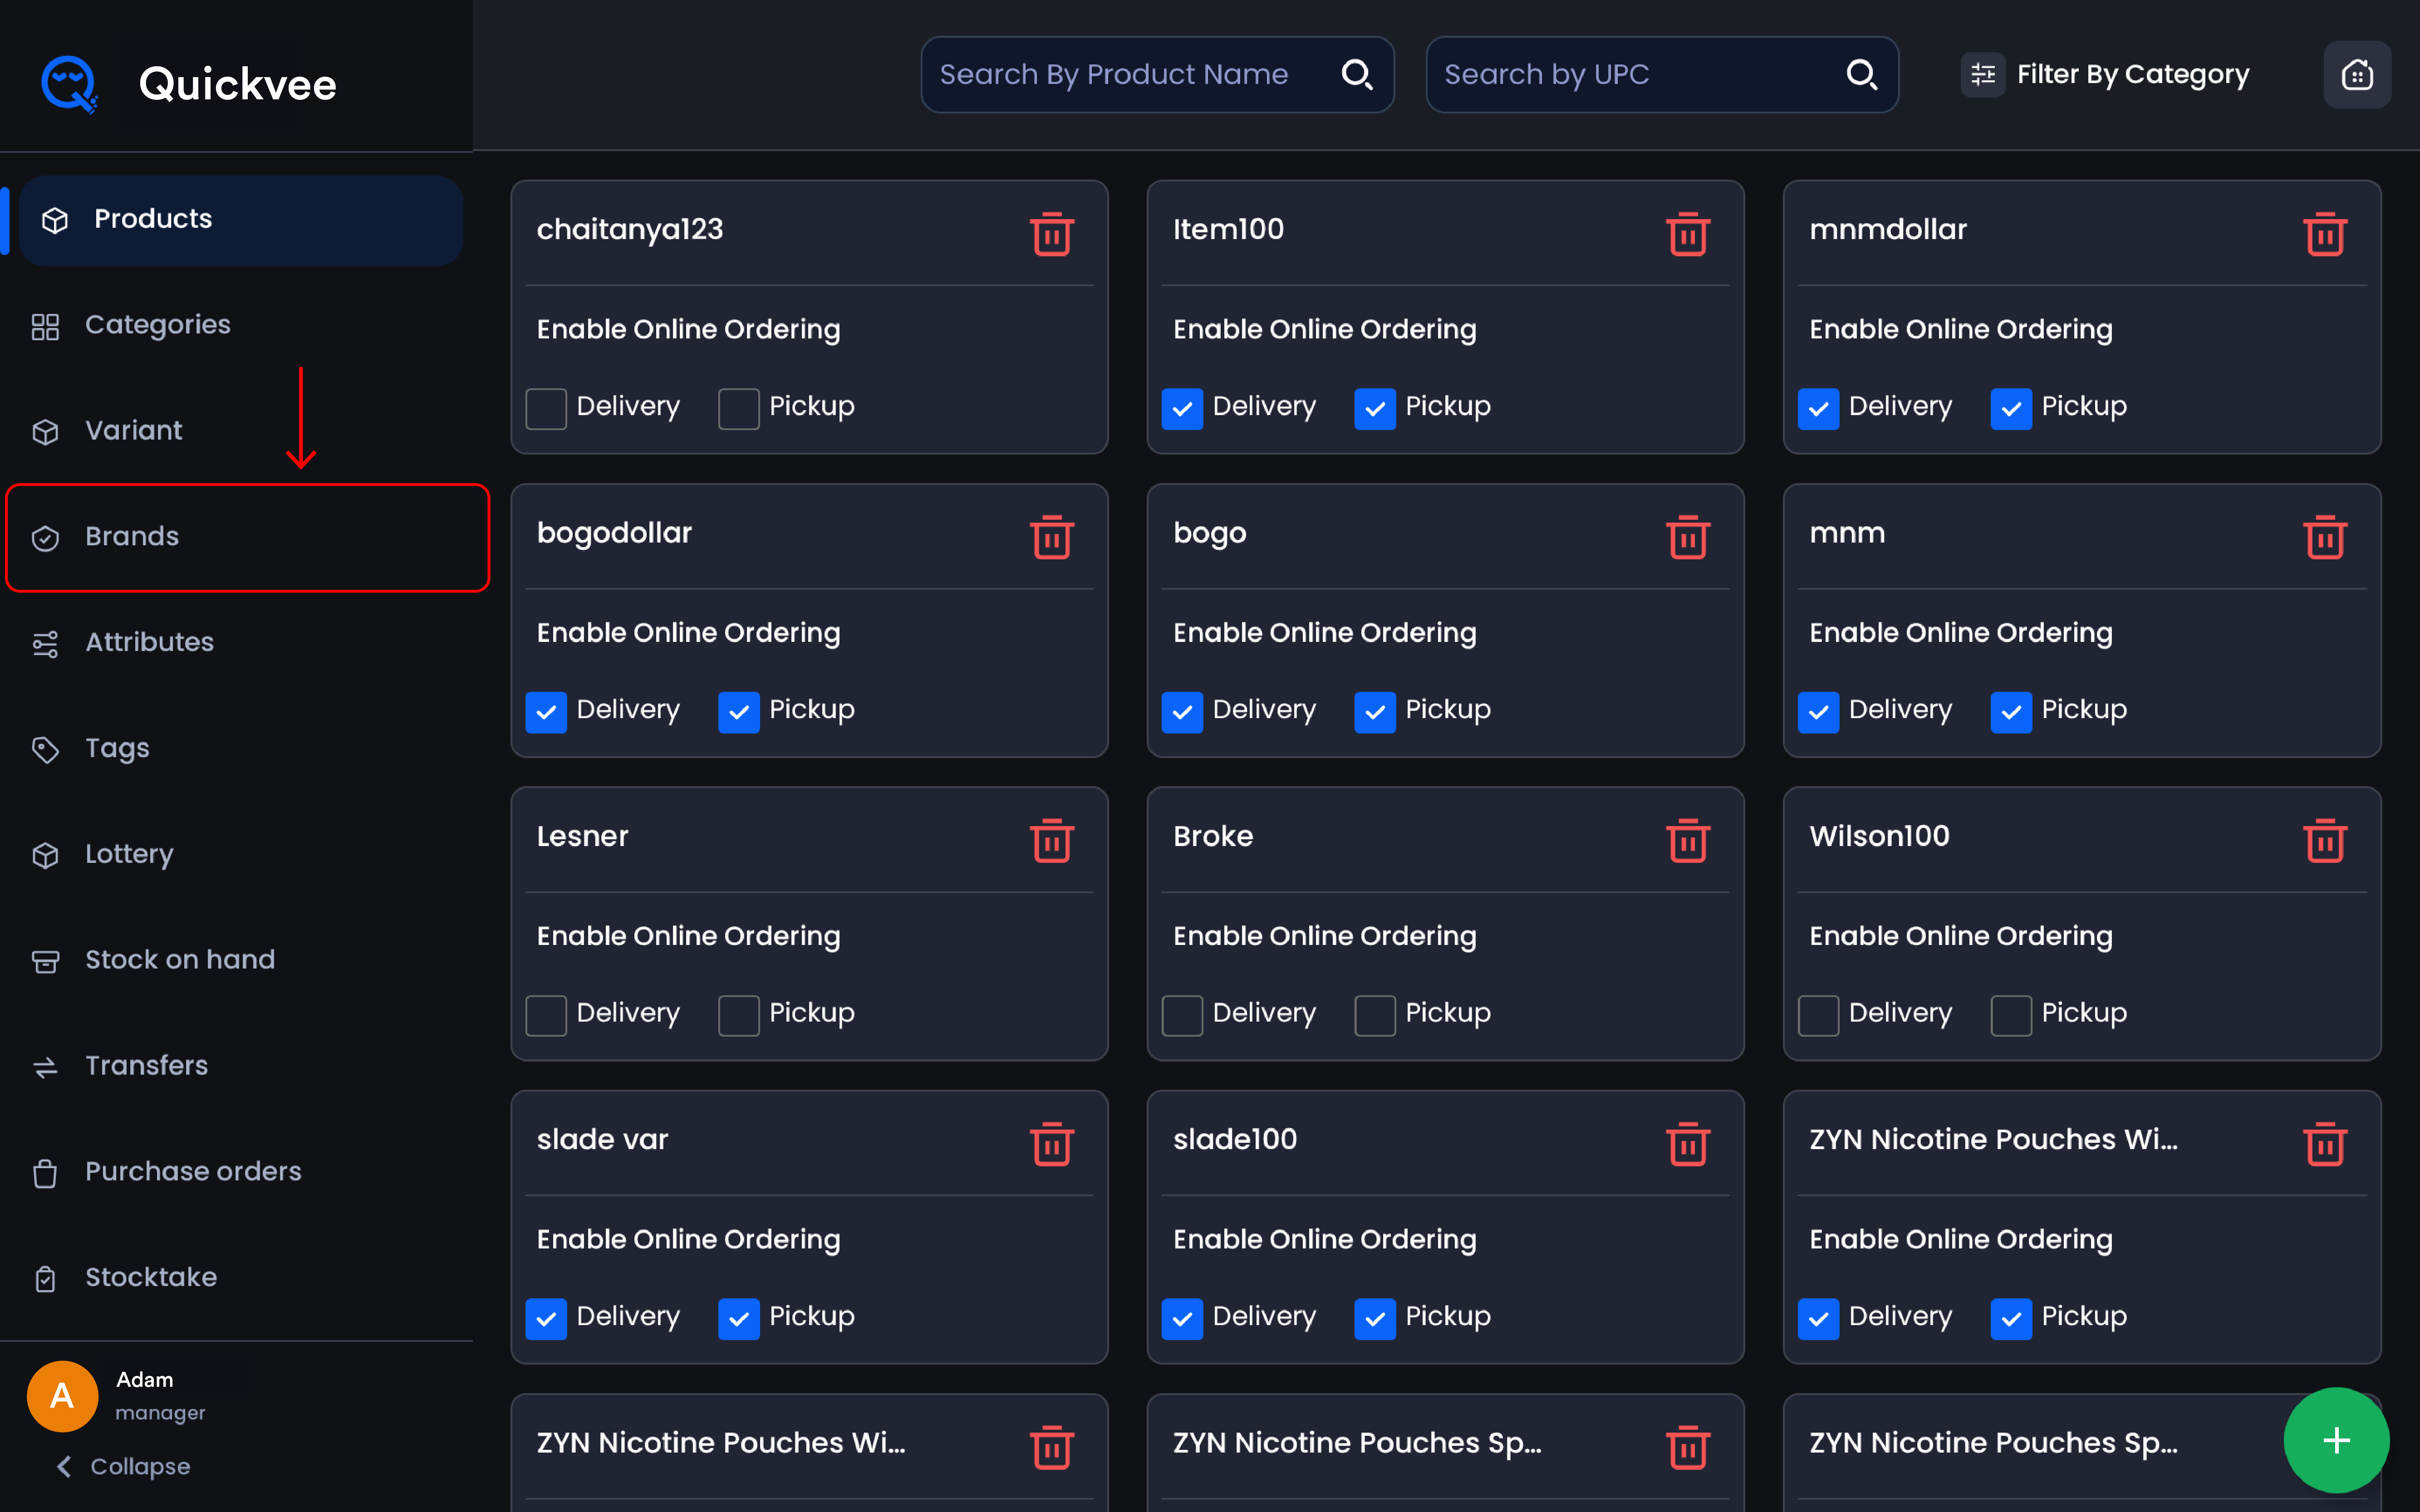
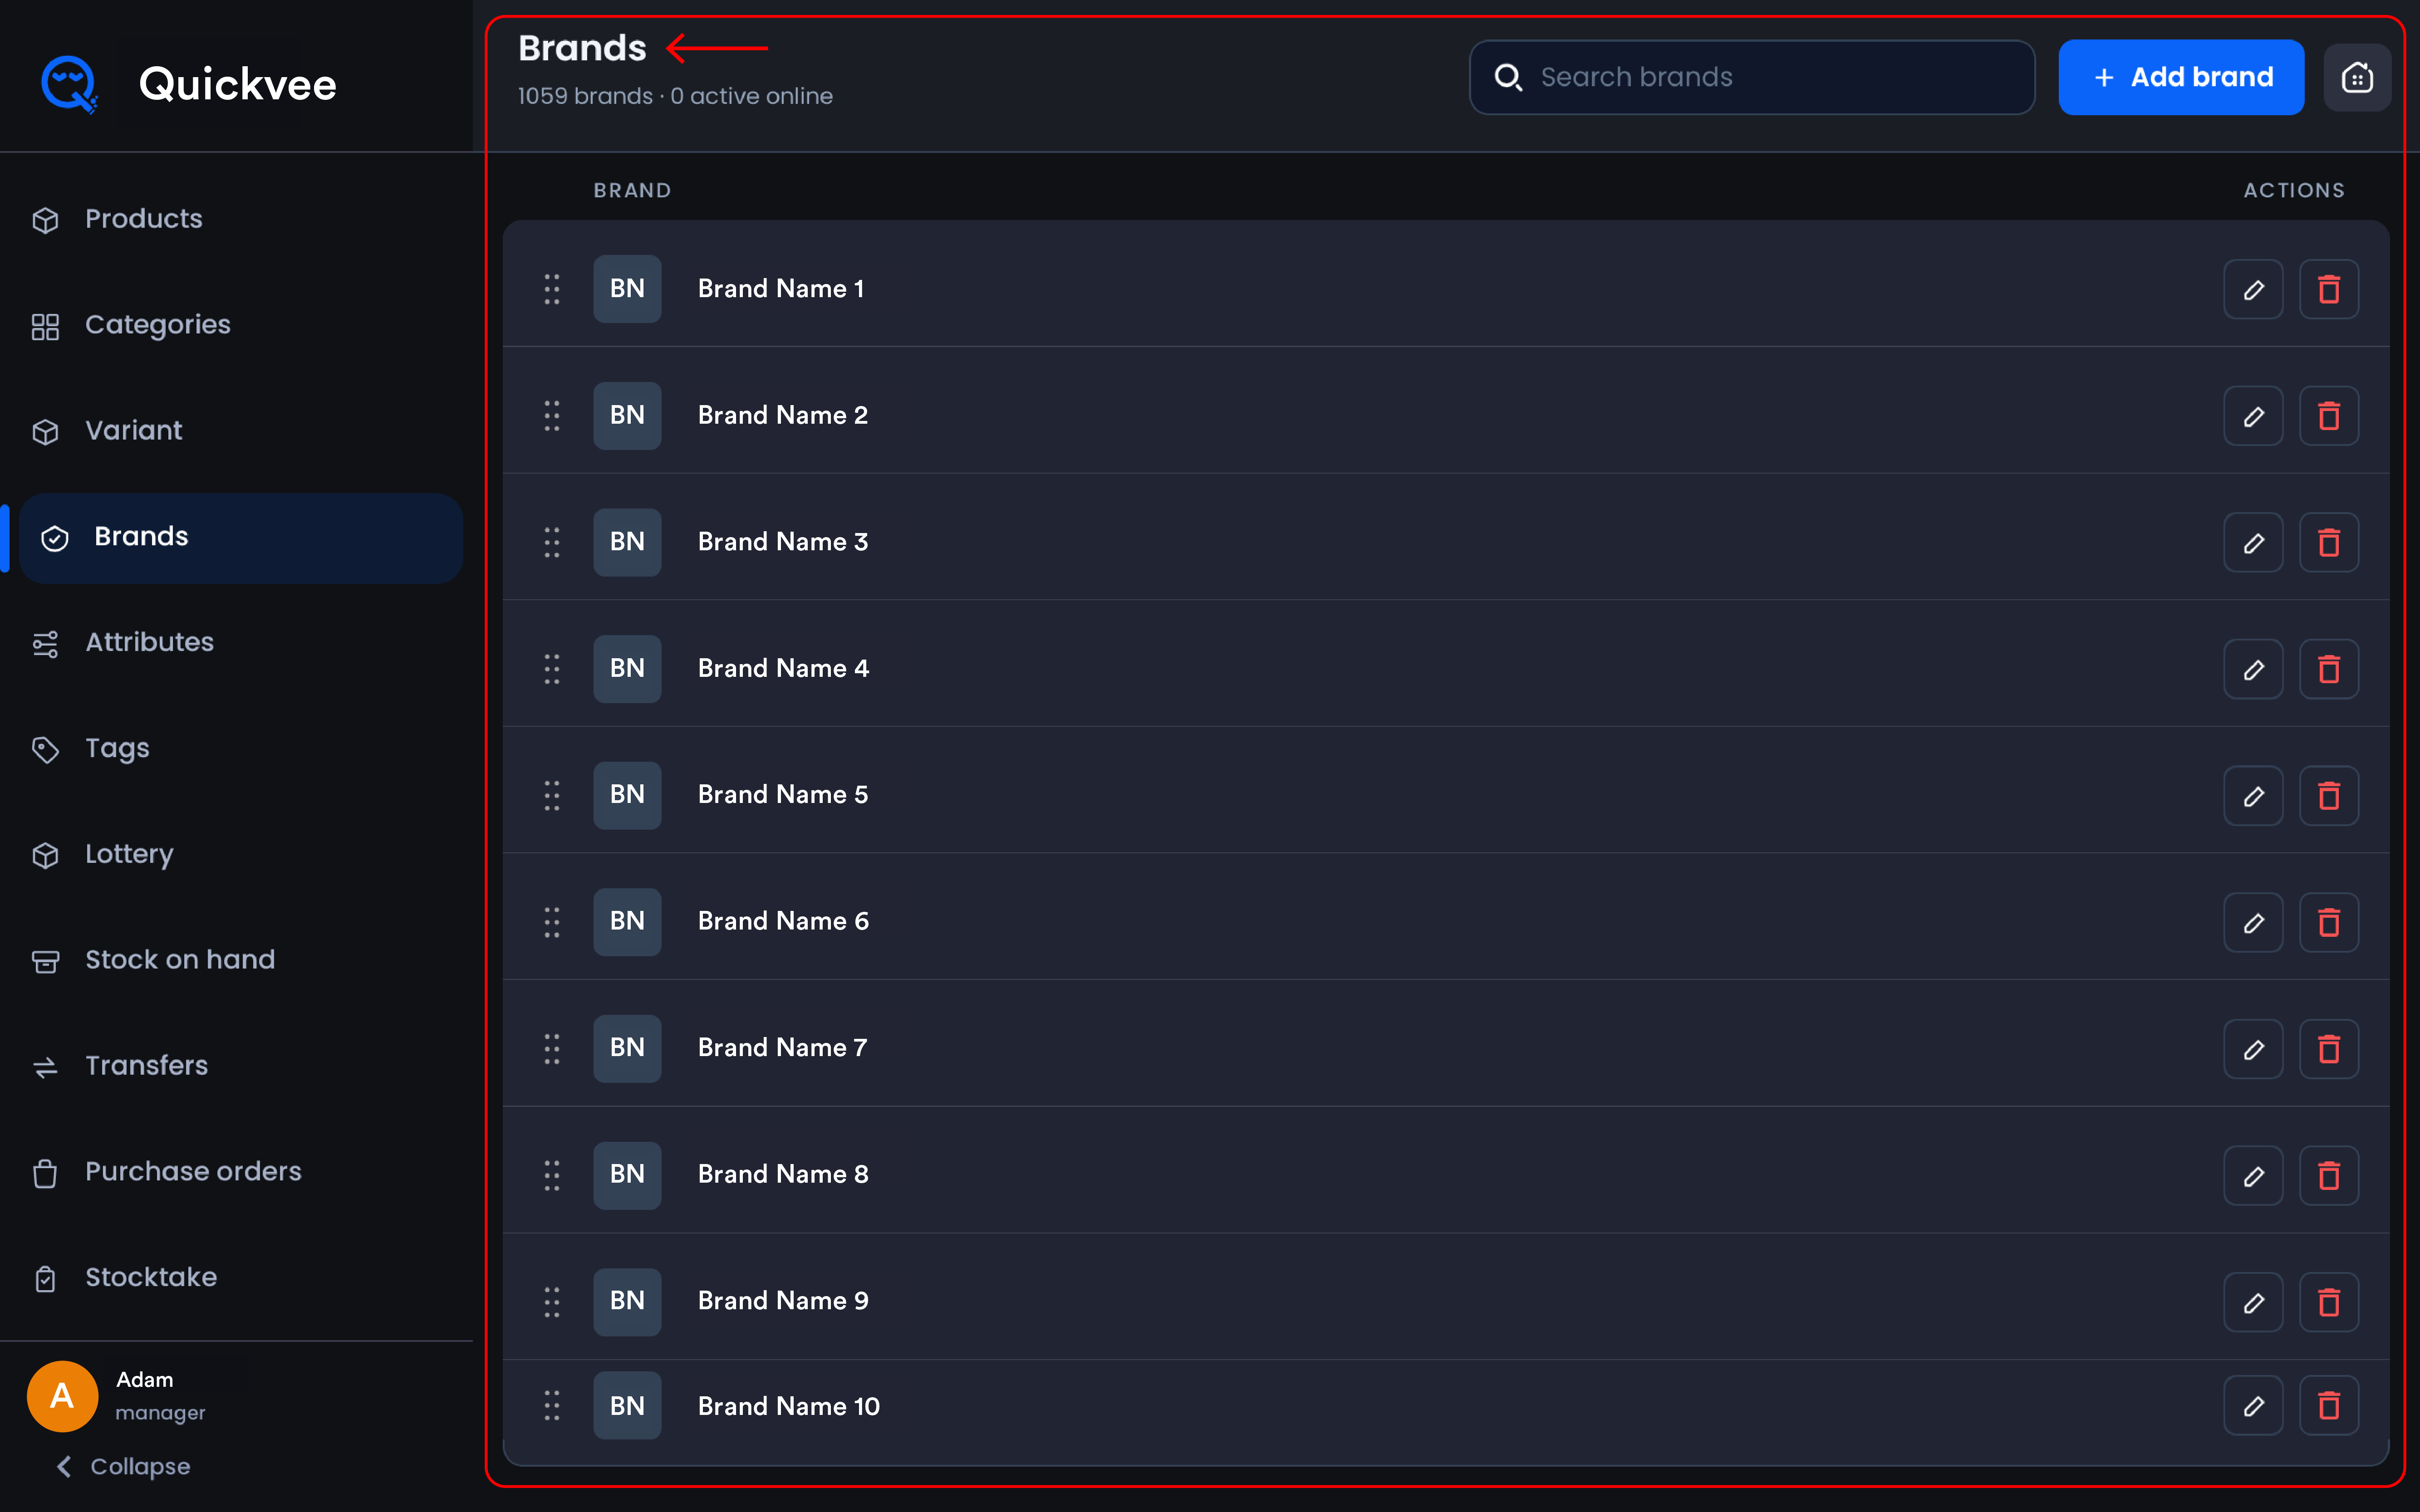
From the POS app, open the Inventory section and select Brands from the menu. The page opens with your full brand list, and the header shows two counts: total brands and how many are currently active online.
Page overview
|
Element |
What it does |
|---|---|
|
Brand counts |
Shown under the page title, total brands, and how many are active on your online store. |
|
Search brands |
Type any part of a brand name to filter the list instantly. |
|
+ Add brand |
Opens an inline entry row at the top of the list to create a new brand. |
|
Drag handle |
The dotted grip on the left of each row. Drag rows to reorder, this is the same display order shoppers see when browsing brands on your online store. |
|
Initial badge |
The two-letter chip beside each name for quick visual scanning. |
|
Edit (pencil) |
Turns the brand name into an editable field directly in the row. |
|
Delete (trash) |
Removes the brand, with a confirmation step that tells you the product impact first. |
Adding a brand
-
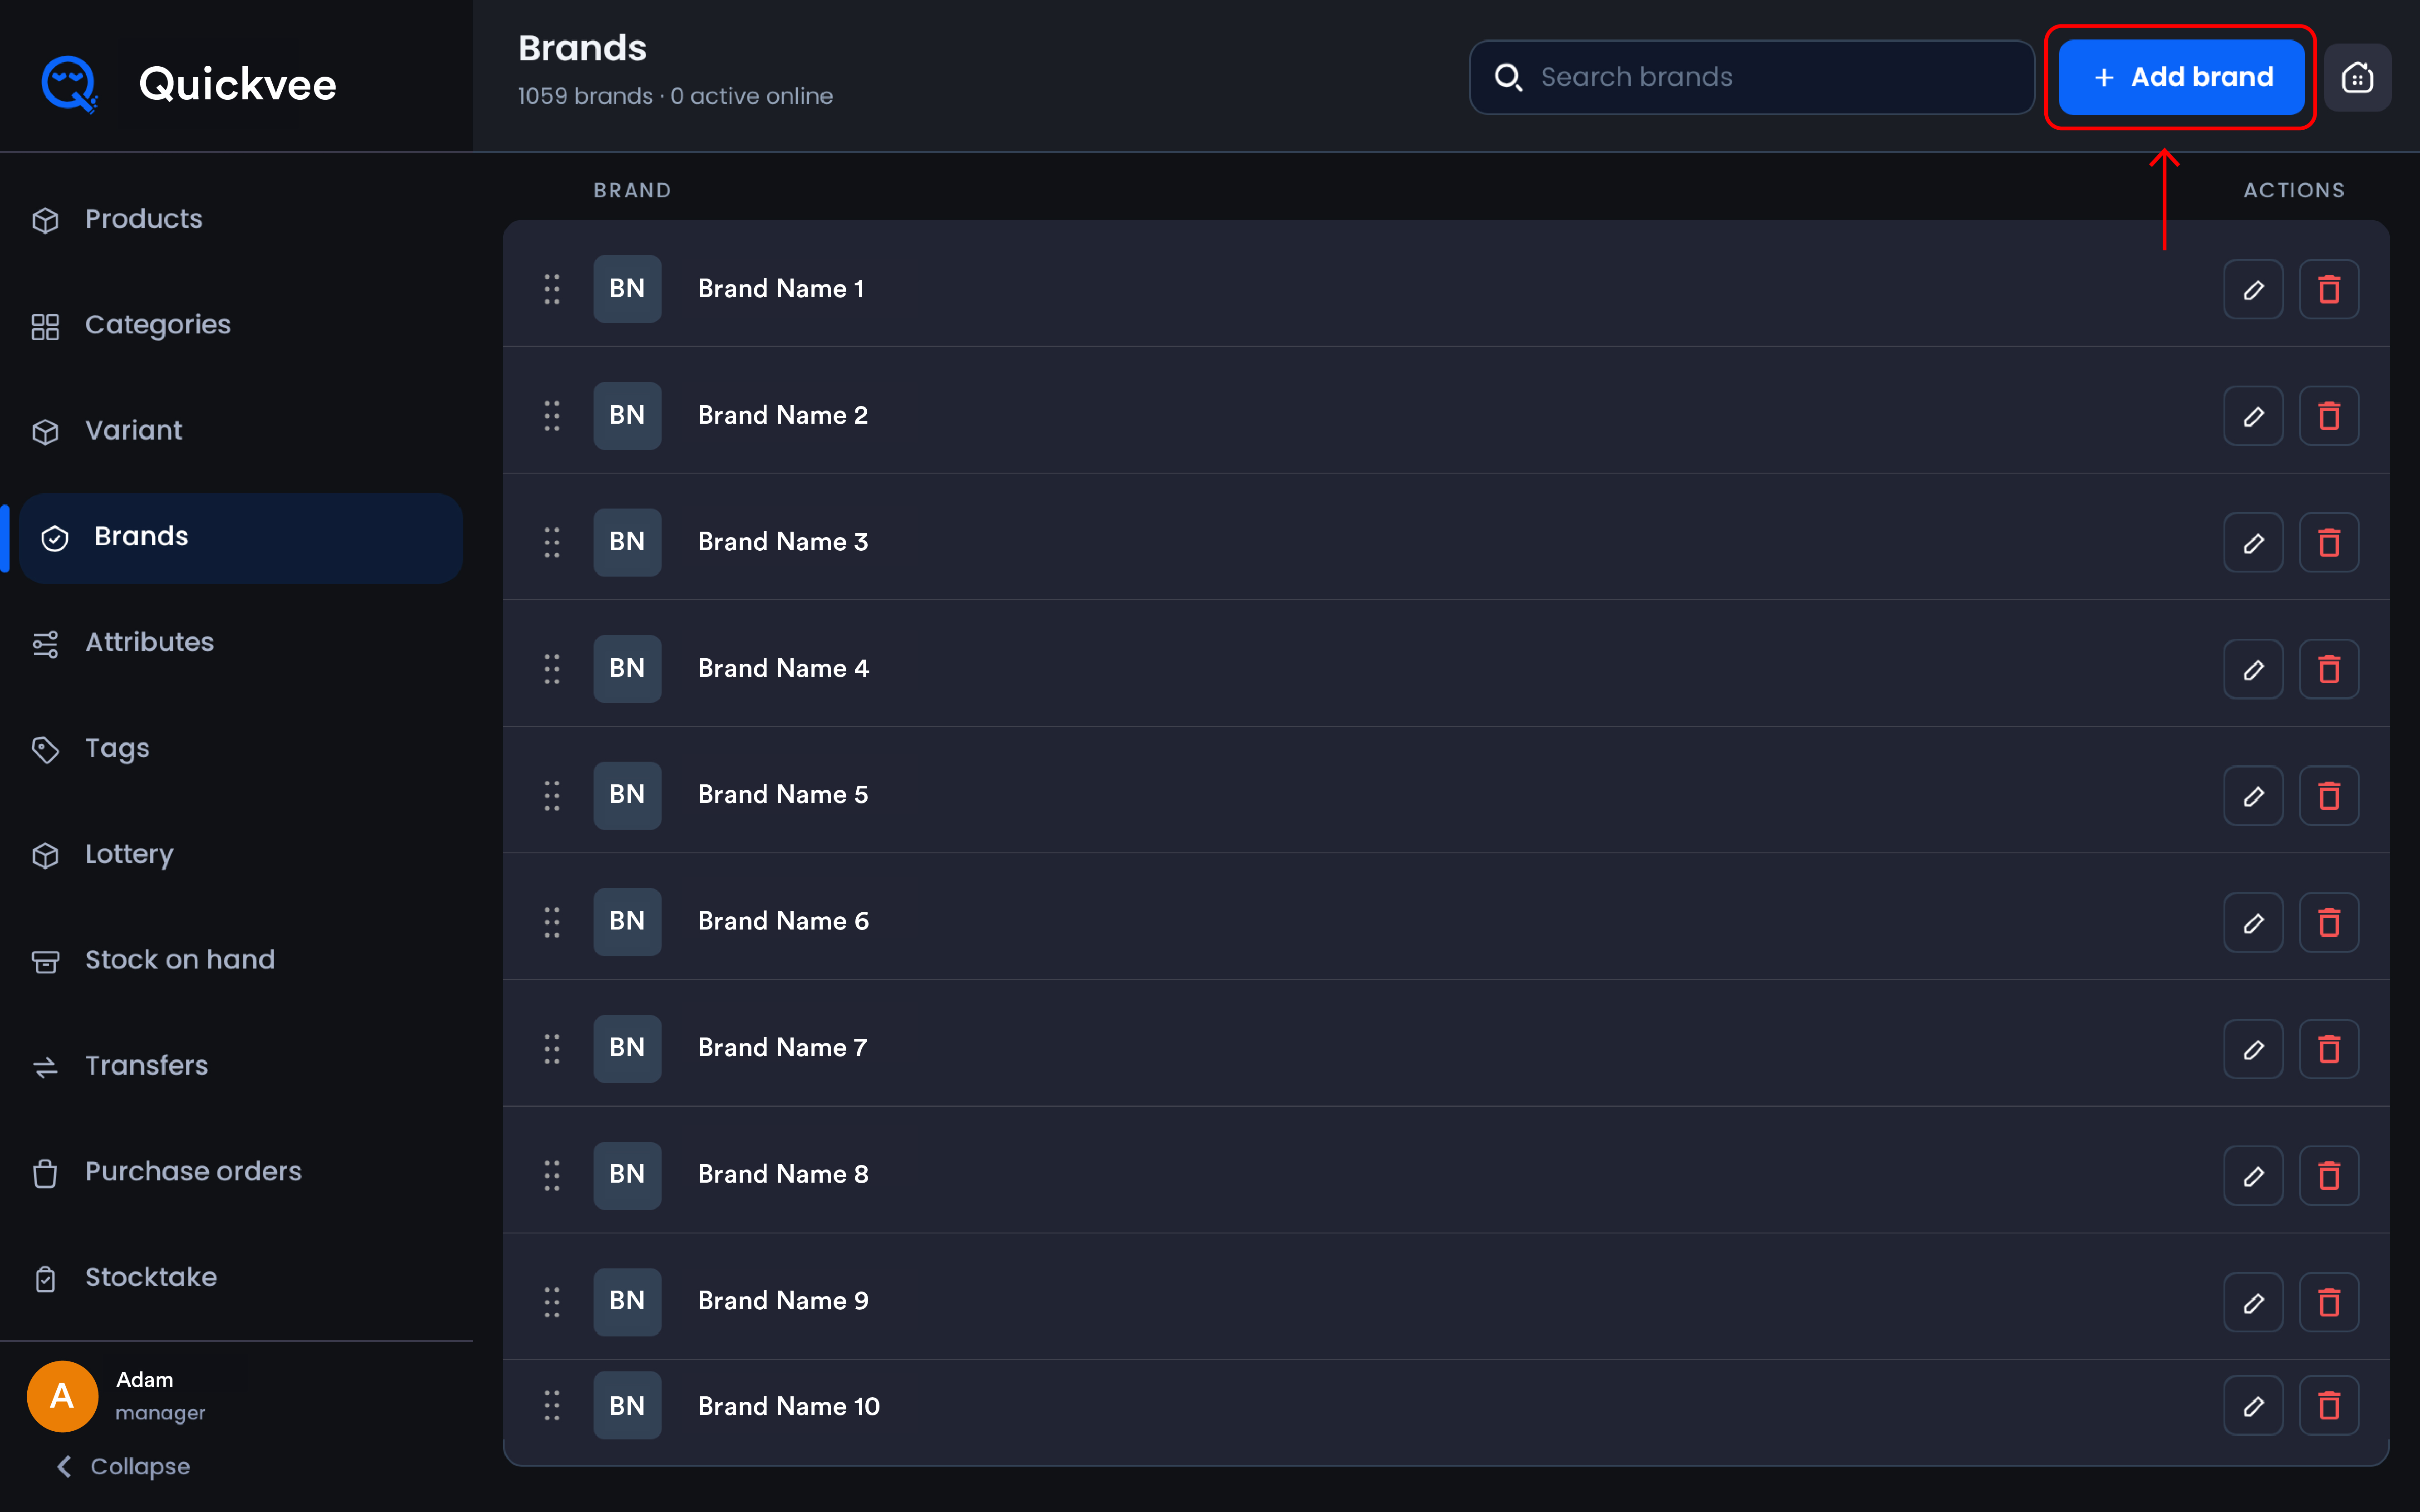
Tap + Add brand in the top-right corner.
-
An entry row appears at the top of the list with a New brand name field.
-
Type the brand name exactly as you want it to appear.
-
Tap Add brand to save, or Cancel to discard.
-
The brand is immediately available when creating or editing products, on the POS and the web backend alike.
💡 Tip. Adding brands from the tablet is handy when you're receiving a delivery on the shop floor and a new product line needs to go into the system right away, create the brand here, then build the products without leaving the counter.
Renaming a brand
-
Tap the pencil icon on the brand's row.
-
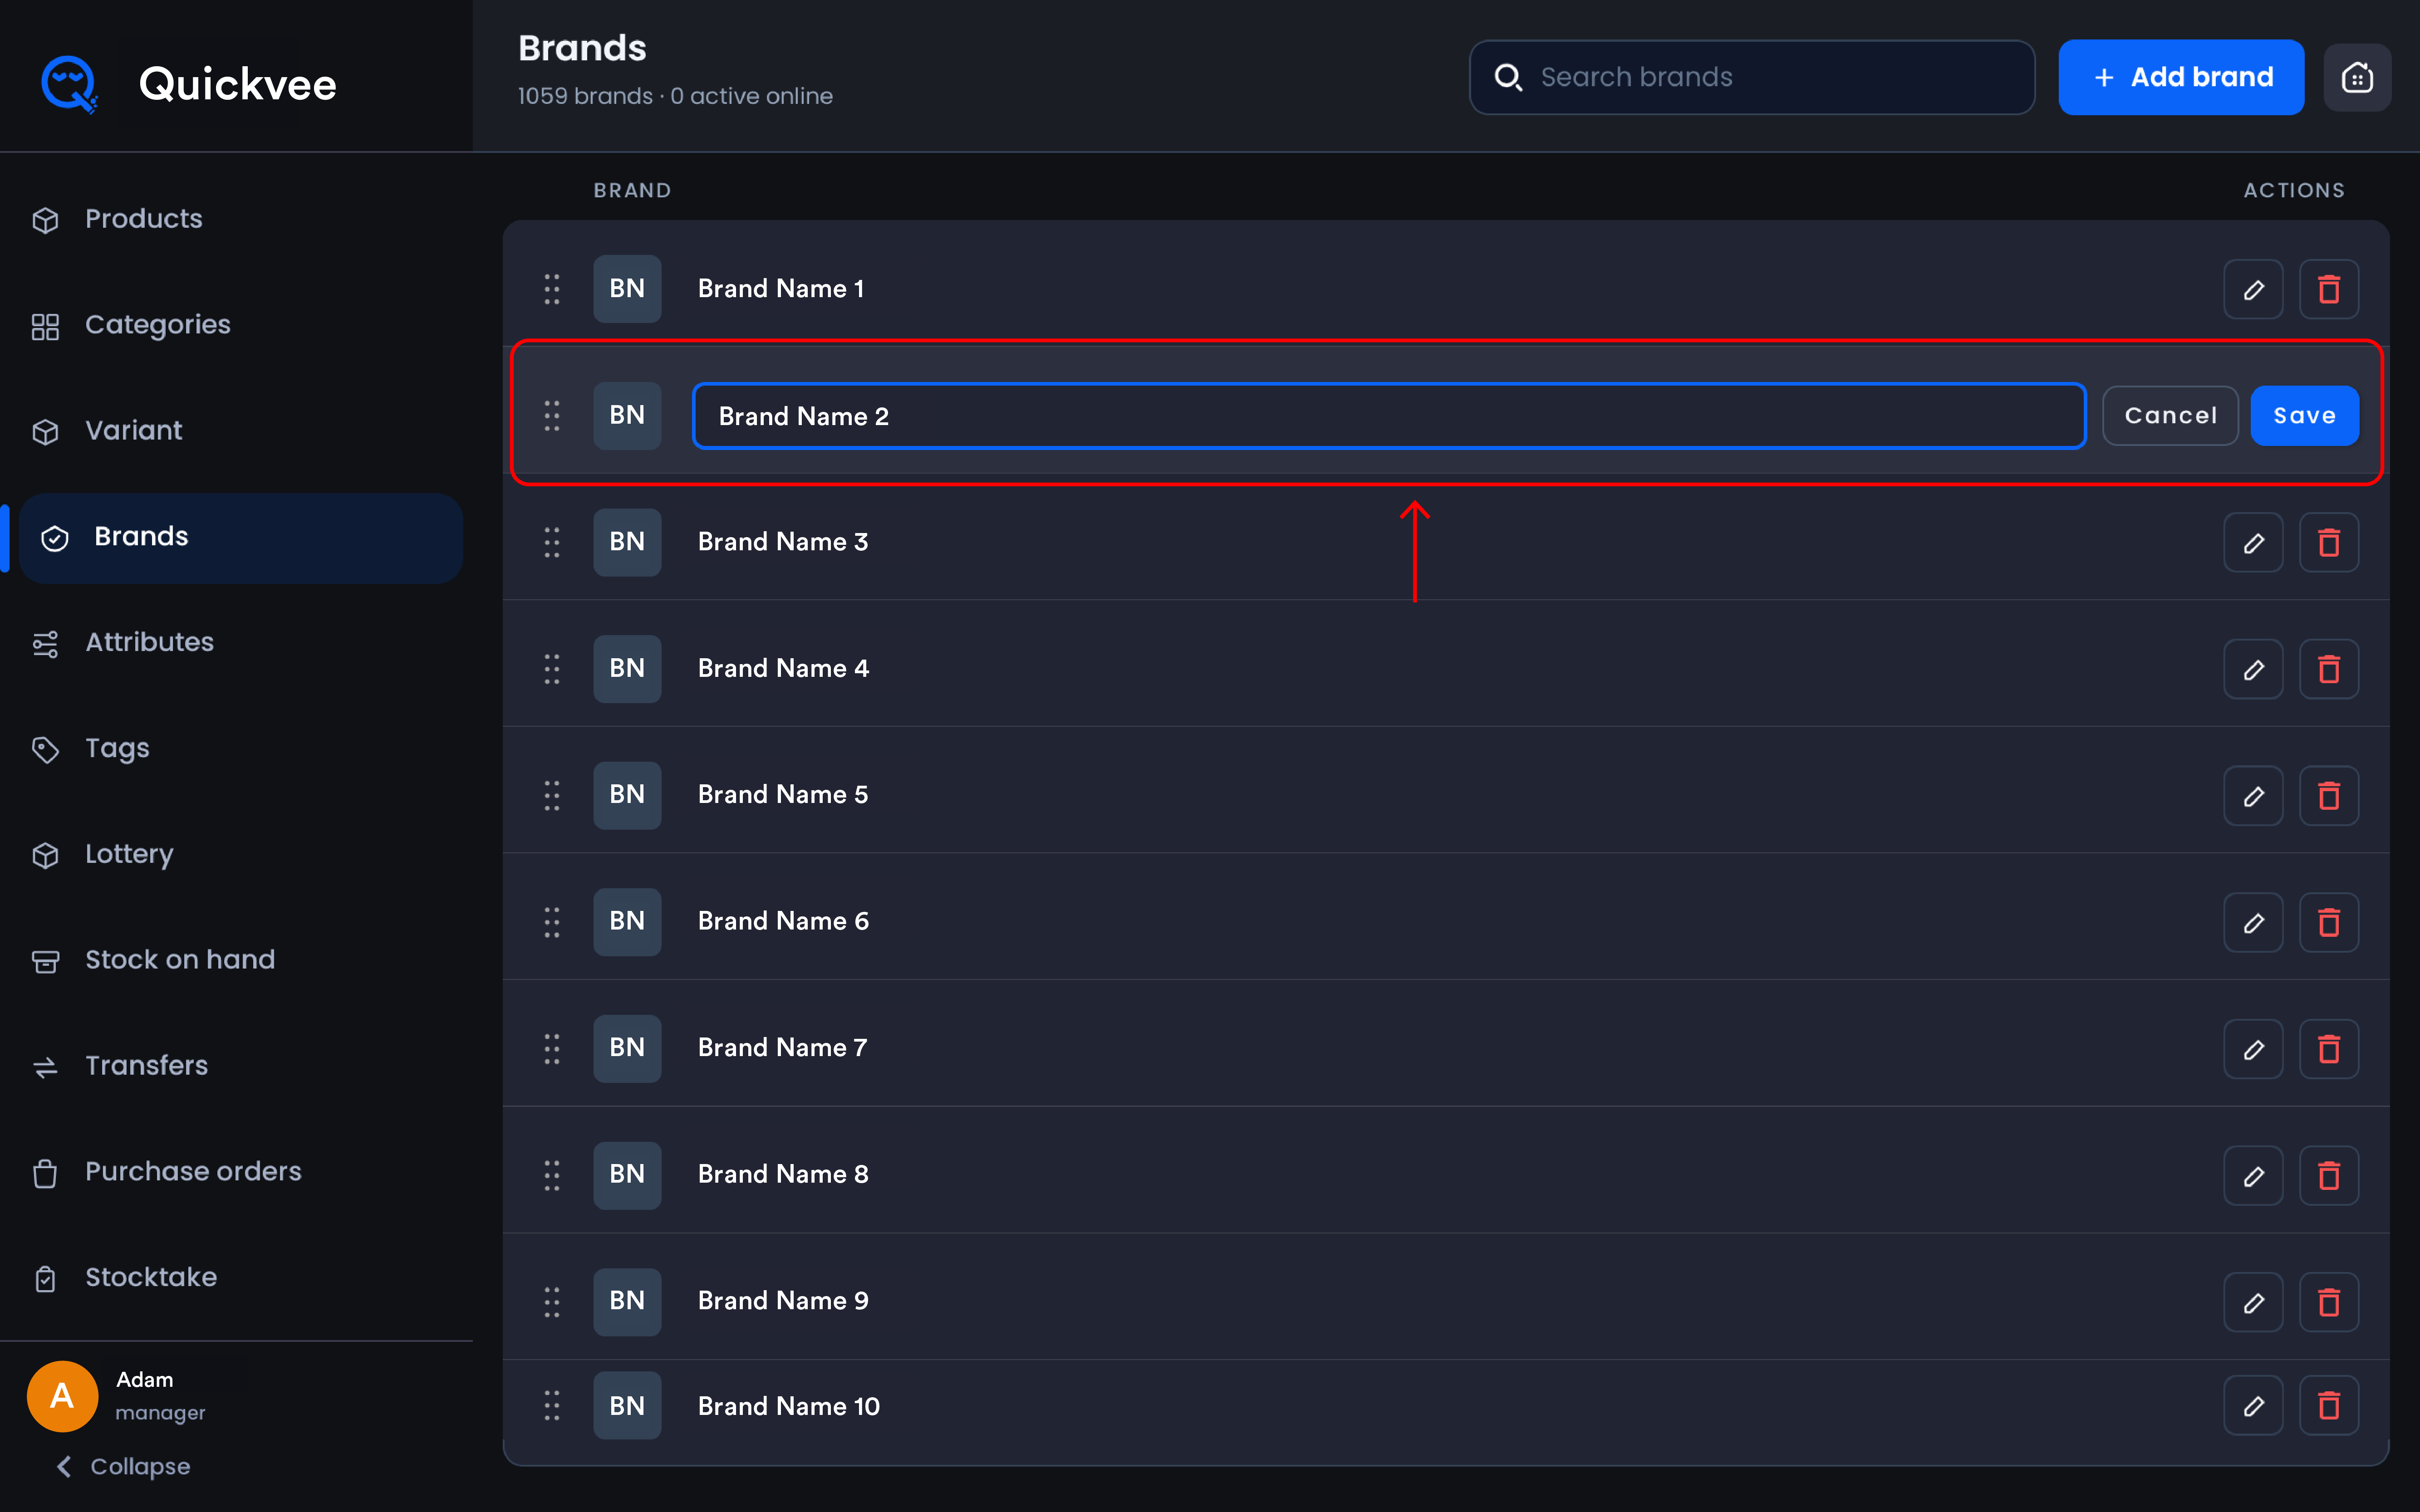
The name becomes an editable field right in the row, no separate screen.
-
Type the change.
-
Tap Save to apply, or Cancel to keep the original name.
⚠️ Important. Renaming changes the brand's label everywhere it appears, on assigned products, in the web backend, and on your online store's brand browsing.
Reordering brands
Press and hold a brand's drag handle, then move the row up or down and release. The list order controls the sequence shoppers see when browsing brands on your online store, so keep your best sellers at the top.
Deleting a brand
-
Tap the trash icon on the brand's row.
-
A confirmation dialog appears, and it does something important: it tells you exactly how many products are currently assigned to this brand before you commit.
-
Tap Delete brand to confirm, or Cancel to back out.
The assigned products aren't deleted, they're left without a brand, and you can reassign them to another brand later.
✅ Best practice. Read the product count in the confirmation dialog before deleting. "This brand has 1 product assigned" is an easy cleanup; a brand carrying dozens of products is a signal to reassign those products first so they don't sit brandless on your online store.
POS and web, one brand list
There's only one brand list per store. The POS Inventory section and the web backend's Inventory → Brands page manage the same records:
|
Action taken on POS |
Effect |
|---|---|
|
Add a brand |
Available instantly in the web backend and product forms. |
|
Rename a brand |
Updates on assigned products and online store browsing. |
|
Reorder brands |
Changes the online display order shoppers see. |
|
Delete a brand |
Removes it everywhere; assigned products are left without a brand. |
Common questions
Q. What does "active online" mean in the header?
A. It's the count of brands currently visible to shoppers on your online store. A brand can exist in your list without being shown online, the header gives you both numbers at a glance.
Q. Will deleting a brand delete its products?
A. No. The confirmation dialog states the impact plainly: assigned products are left without a brand, and you can reassign them later. Nothing is removed from your inventory.
Q. Do changes made here show up on the web backend?
A. Yes, immediately, it's one shared brand list. The same is true in reverse.
Q. Why don't cashiers see brands on the register screen?
A. By design. Brands organize your catalog and power online store browsing; cashiers find products by scanning, searching, or categories. This management page is separate from the selling screen.
Q. Who can manage brands on the POS?
A. Brand management is governed by employee permissions. Employees signed in without brand management rights can't alter the list.
Related
See Manage brands in the web backend for the same list managed from the web back office.