
The Loyalty Program has been redesigned in the merchant web backend. It now sits in your sidebar as Loyalty Program (the previous version is still available as Loyalty Program (old) for reference). Even if you operate just one store, the new screen looks and behaves a little differently: the same core settings you know, in a cleaner card-based layout, with a live preview that shows your earn-and-burn math in real time and a single Save All Settings button that commits every change at once.
This article walks through the new screen for single-store merchants and explains what's been added over the legacy version.
Where to find it
Sign in to your merchant backend → side menu → Loyalty Program.
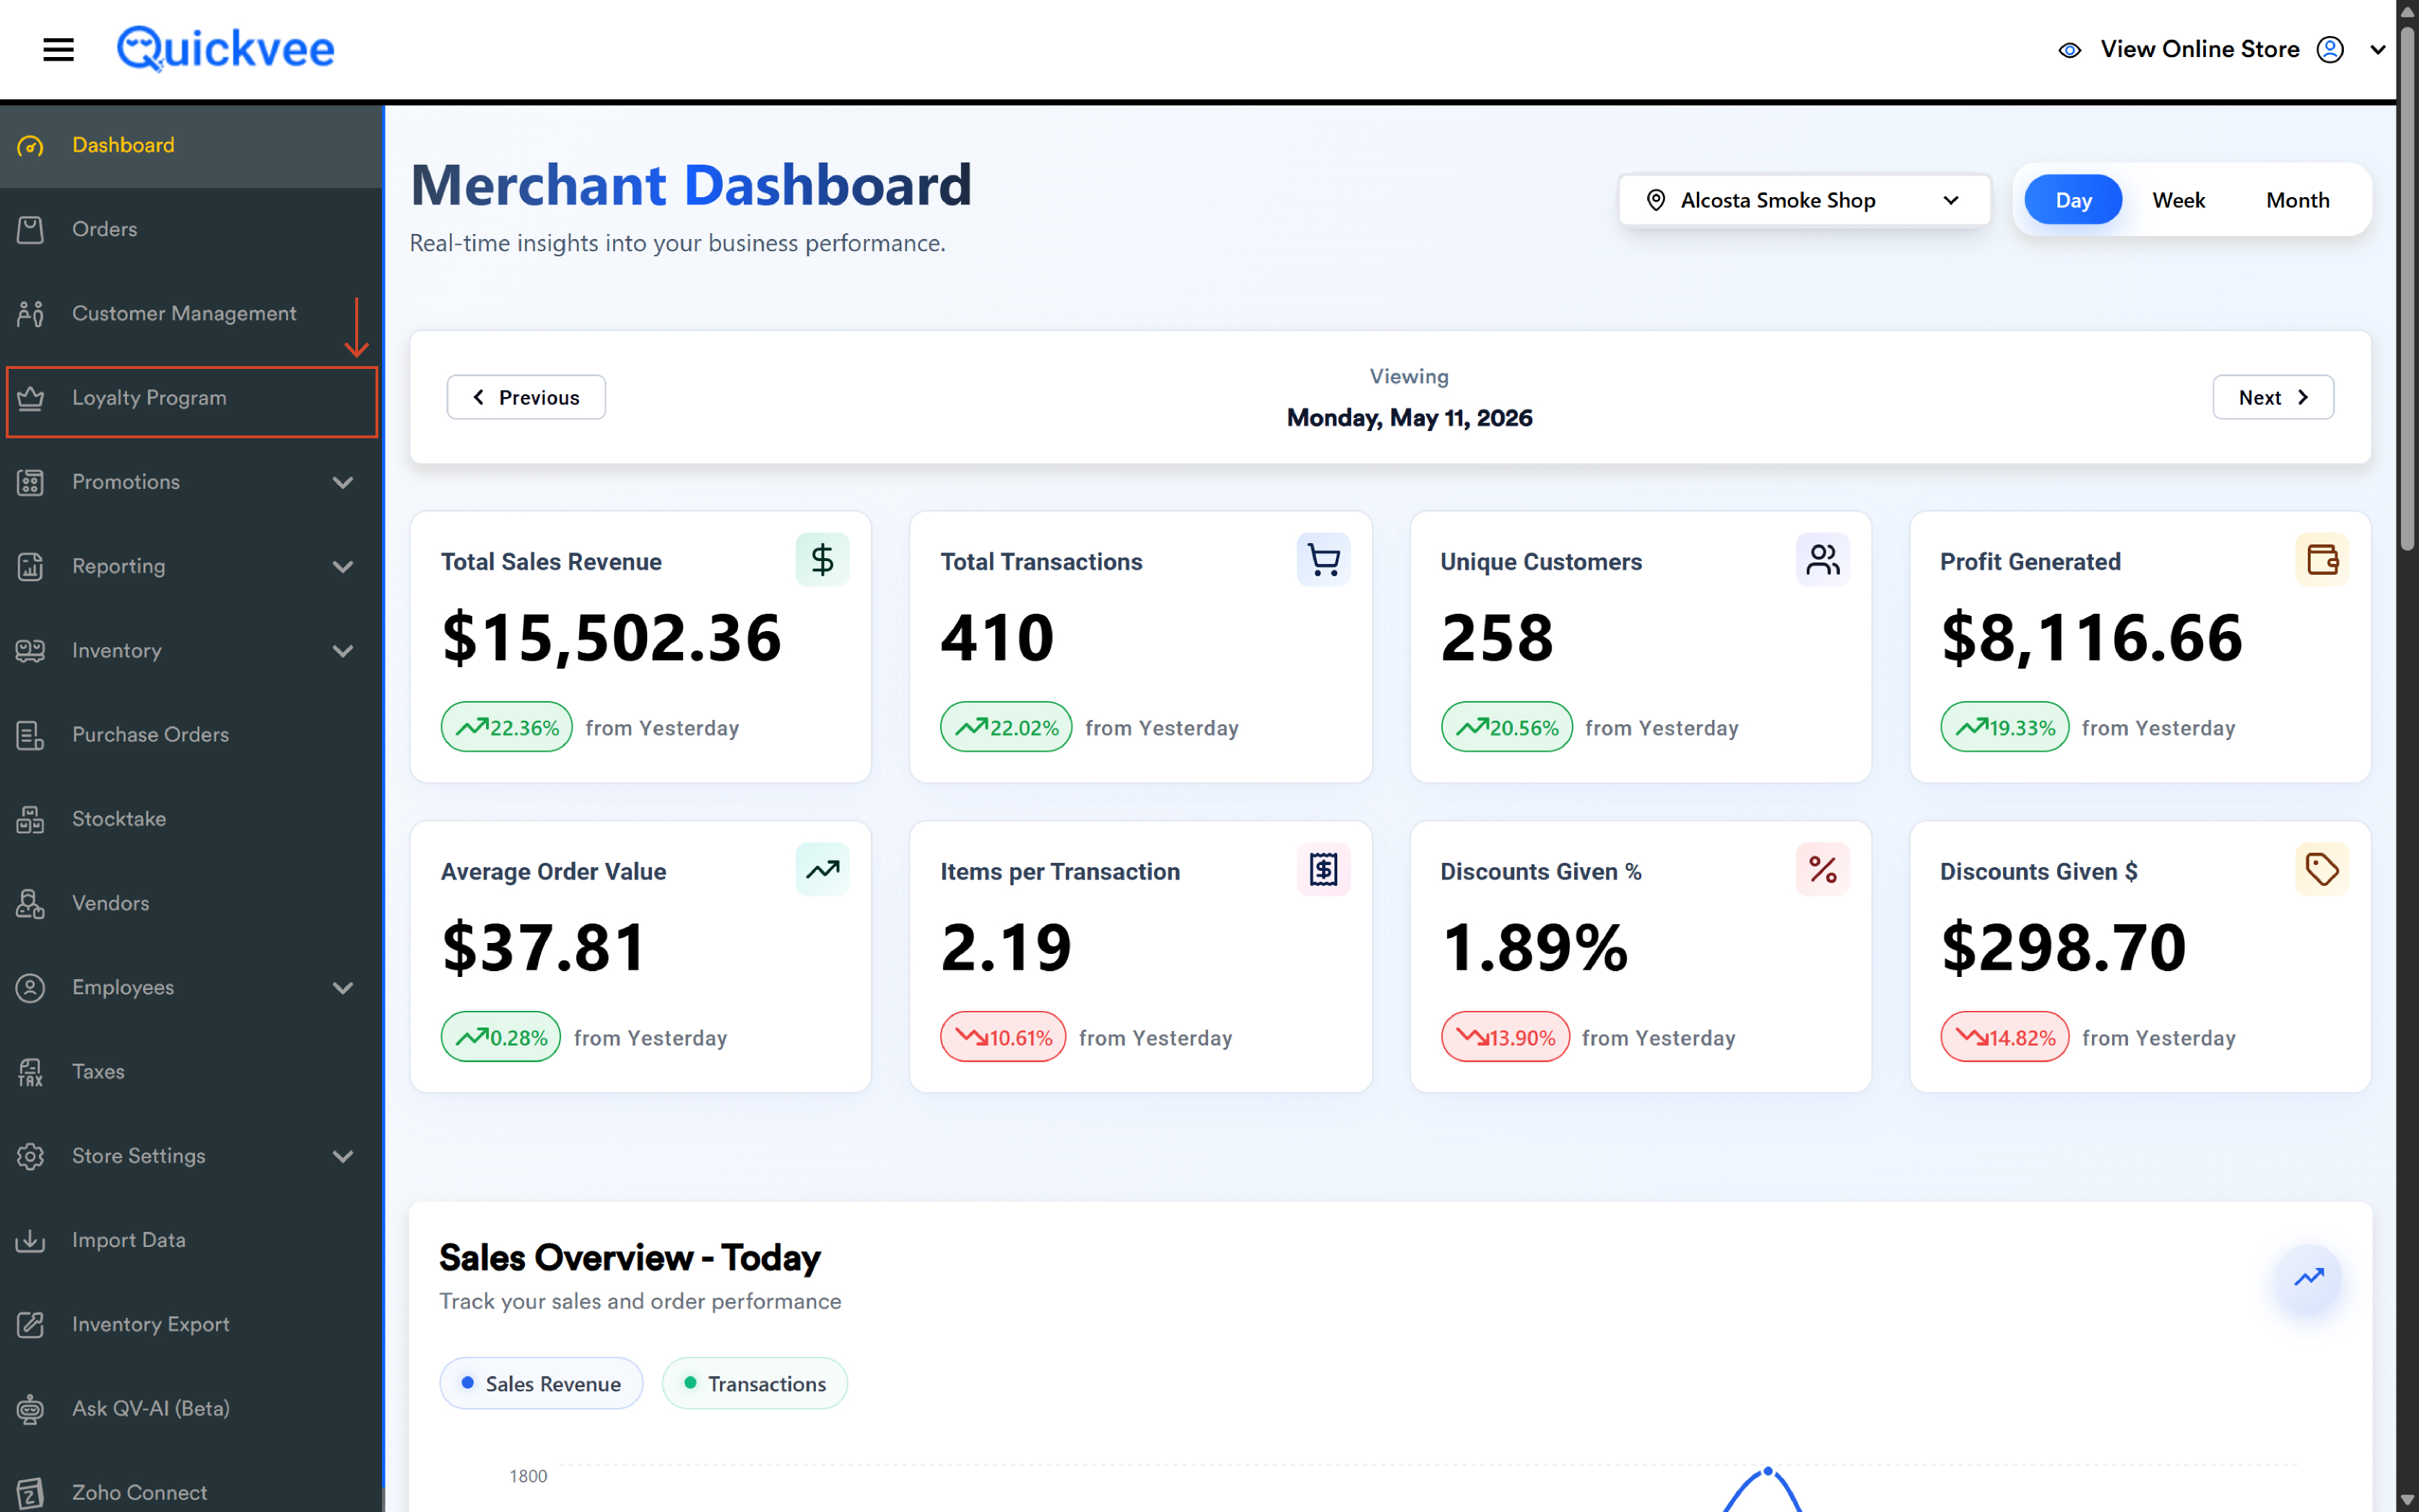
Two entries appear in the sidebar: Loyalty Program (old) and Loyalty Program. The old version is kept for reference; new configuration should go through the new module. Once you save in the new module, the configuration applies, there's no separate "switch over" step.
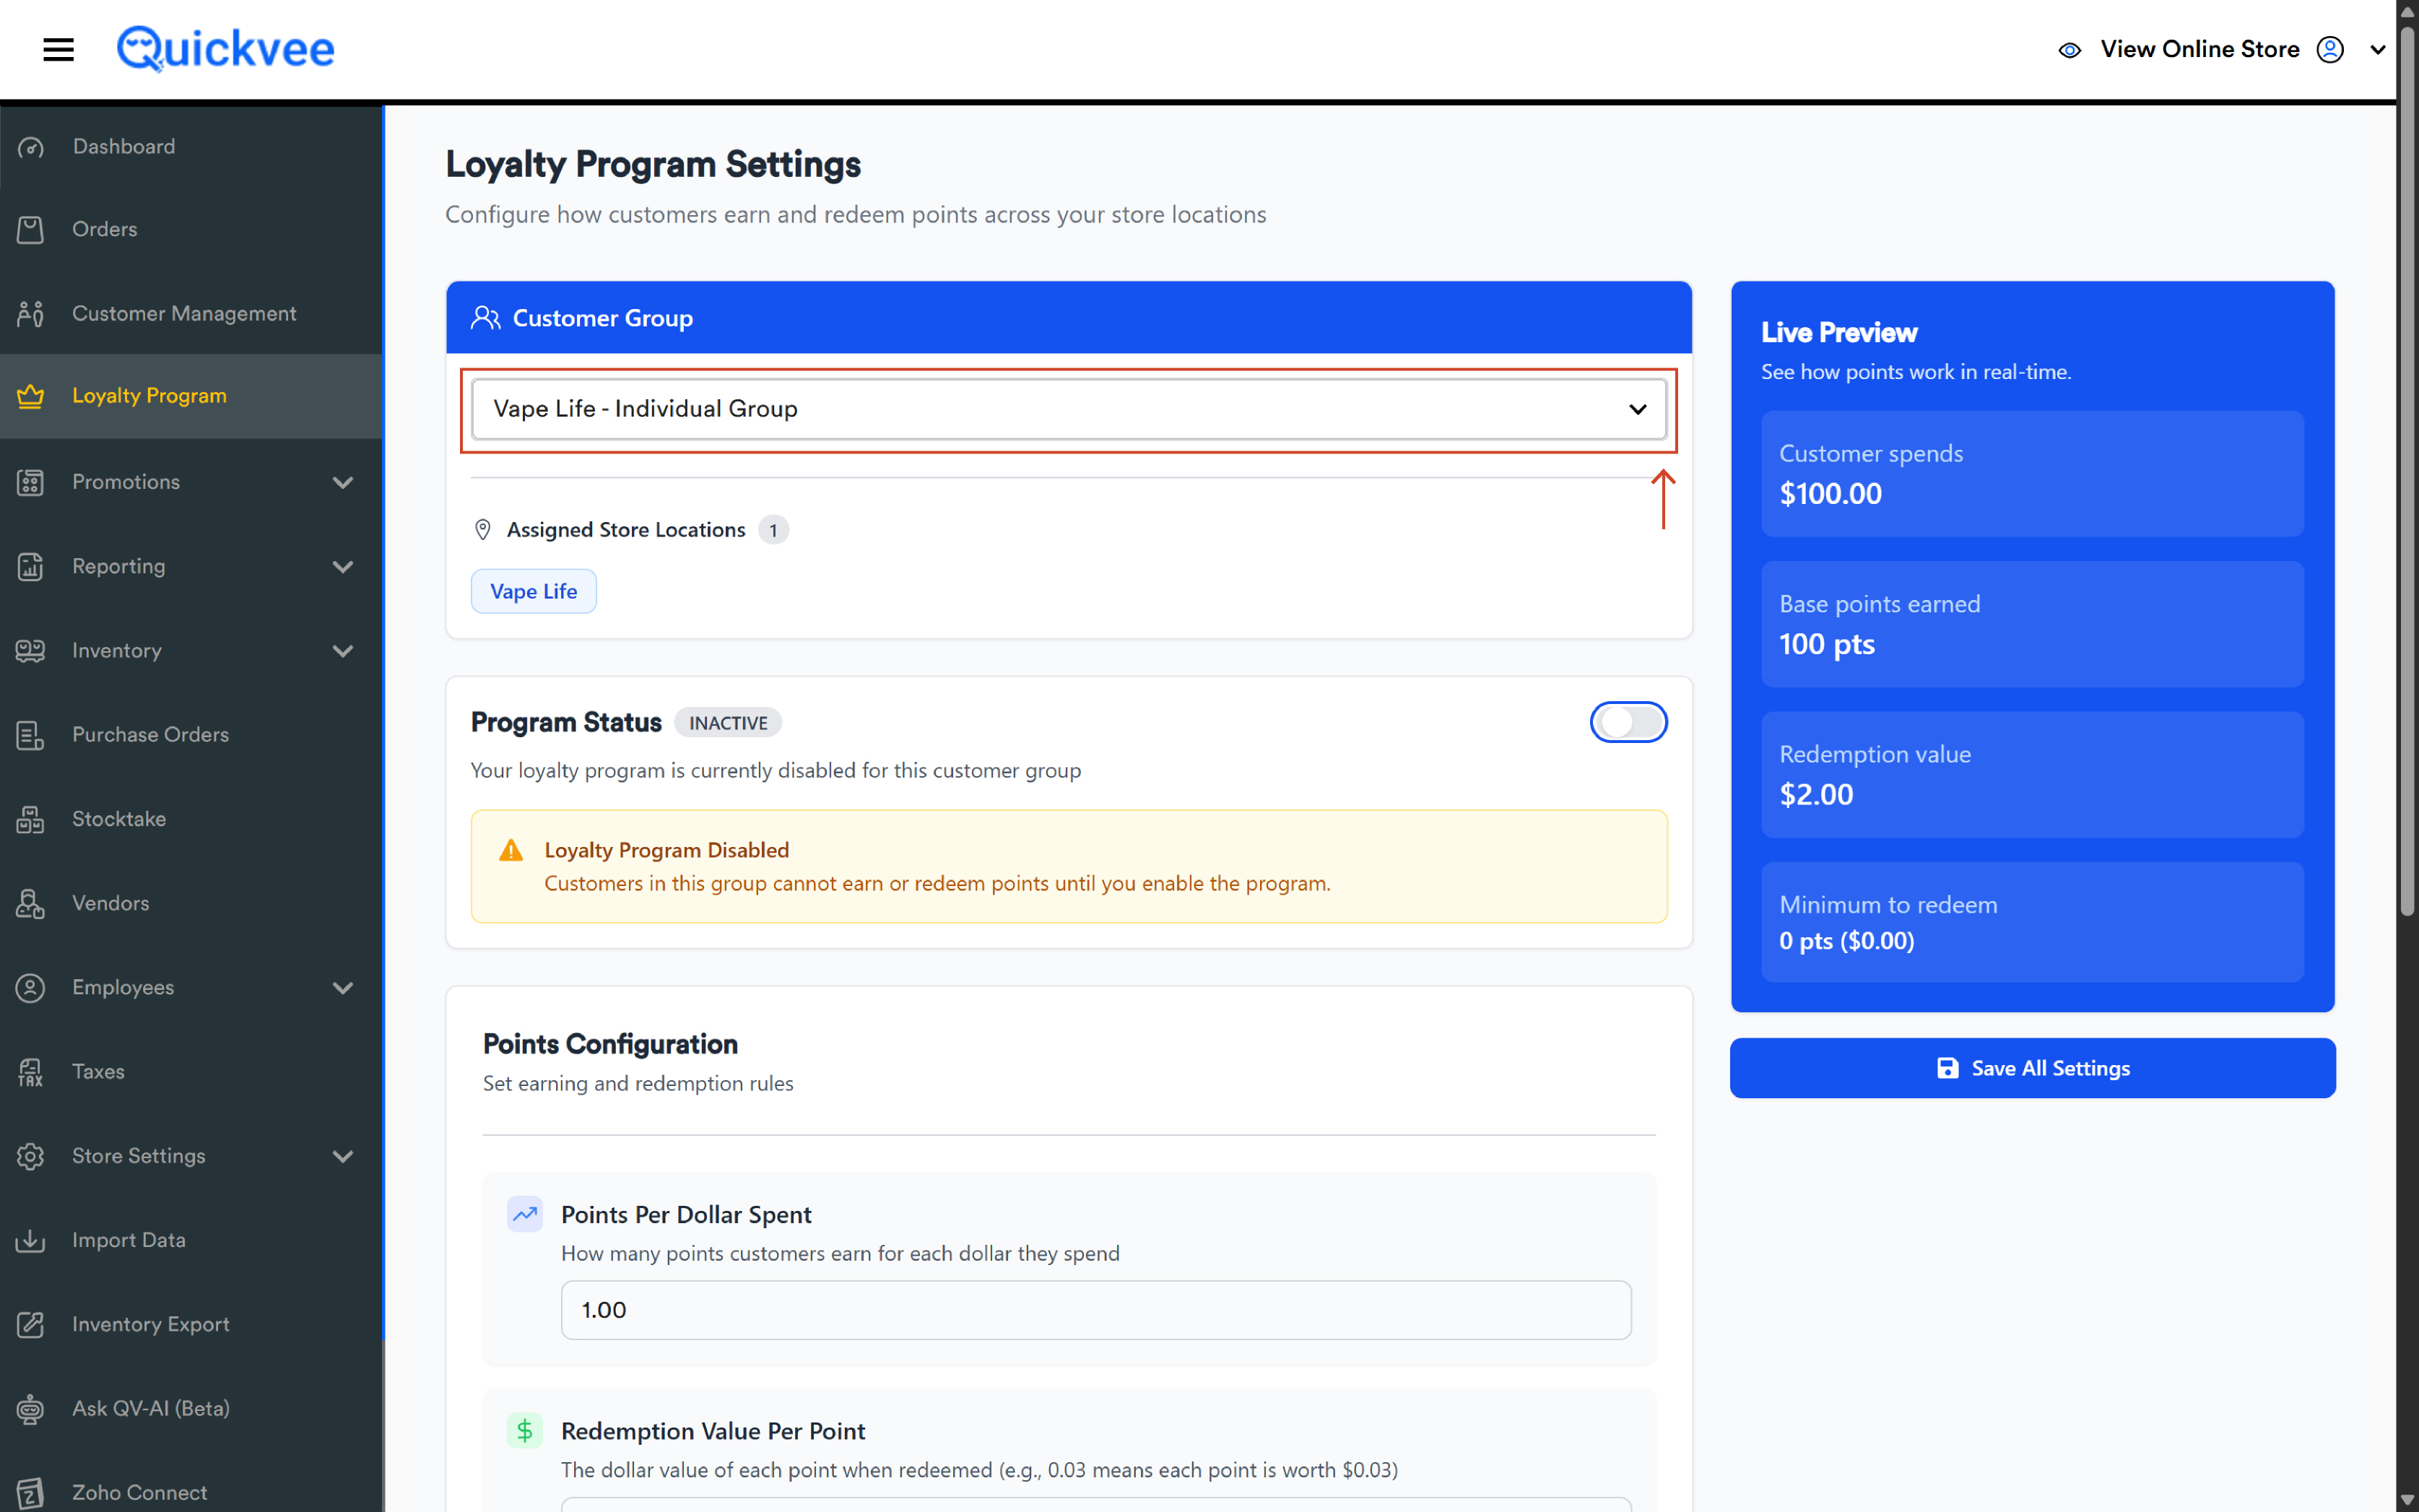
The Customer Group selector, yes, even single-store merchants see it
The new Loyalty Program is built on the same engine that powers multi-store loyalty groups. For that reason, the top of the page shows a Customer Group dropdown, even if you only have one store.
|
Element |
What it does |
|---|---|
|
Customer Group (dropdown) |
Pre-selected to your store's auto-created group, named {Your Store Name} - Individual Group. Single-store merchants only ever have this one option. |
|
Assigned Store Locations |
A read-only chip row showing your store name. The number badge confirms how many stores belong to the group, for single-store merchants, this is always 1. |
You don't need to do anything with the Customer Group selector, it's there because the same loyalty engine serves merchants who run multiple stores. Your settings here apply to your store and your customers, exactly as before.
What is an Individual Group? Every Quickvee store automatically gets its own Customer Group at setup, named {Store Name} - Individual Group. For a single-store merchant, that group is just a wrapper around your store. The framework exists so that if you ever open a second location, you can merge them into a shared loyalty pool, but until then, nothing changes for you.
Program Status
Below the Customer Group section sits a clear on/off control for the whole program:
|
Control |
What it does |
|---|---|
|
Program Status (toggle) |
Flip between Active and Inactive. When Active, customers earn and redeem points normally. When Inactive, the program is paused, no new earns, no redemptions, and existing customer point balances are preserved untouched. |
When active, a green ACTIVE badge appears next to the section title with the message Your loyalty program is active and customers can earn points.
Pausing is reversible. Flipping the toggle to Inactive doesn't delete or reset anyone's points. Customers stop earning new points while paused, but everything they've accumulated stays put until you turn the program back on.
Points Configuration
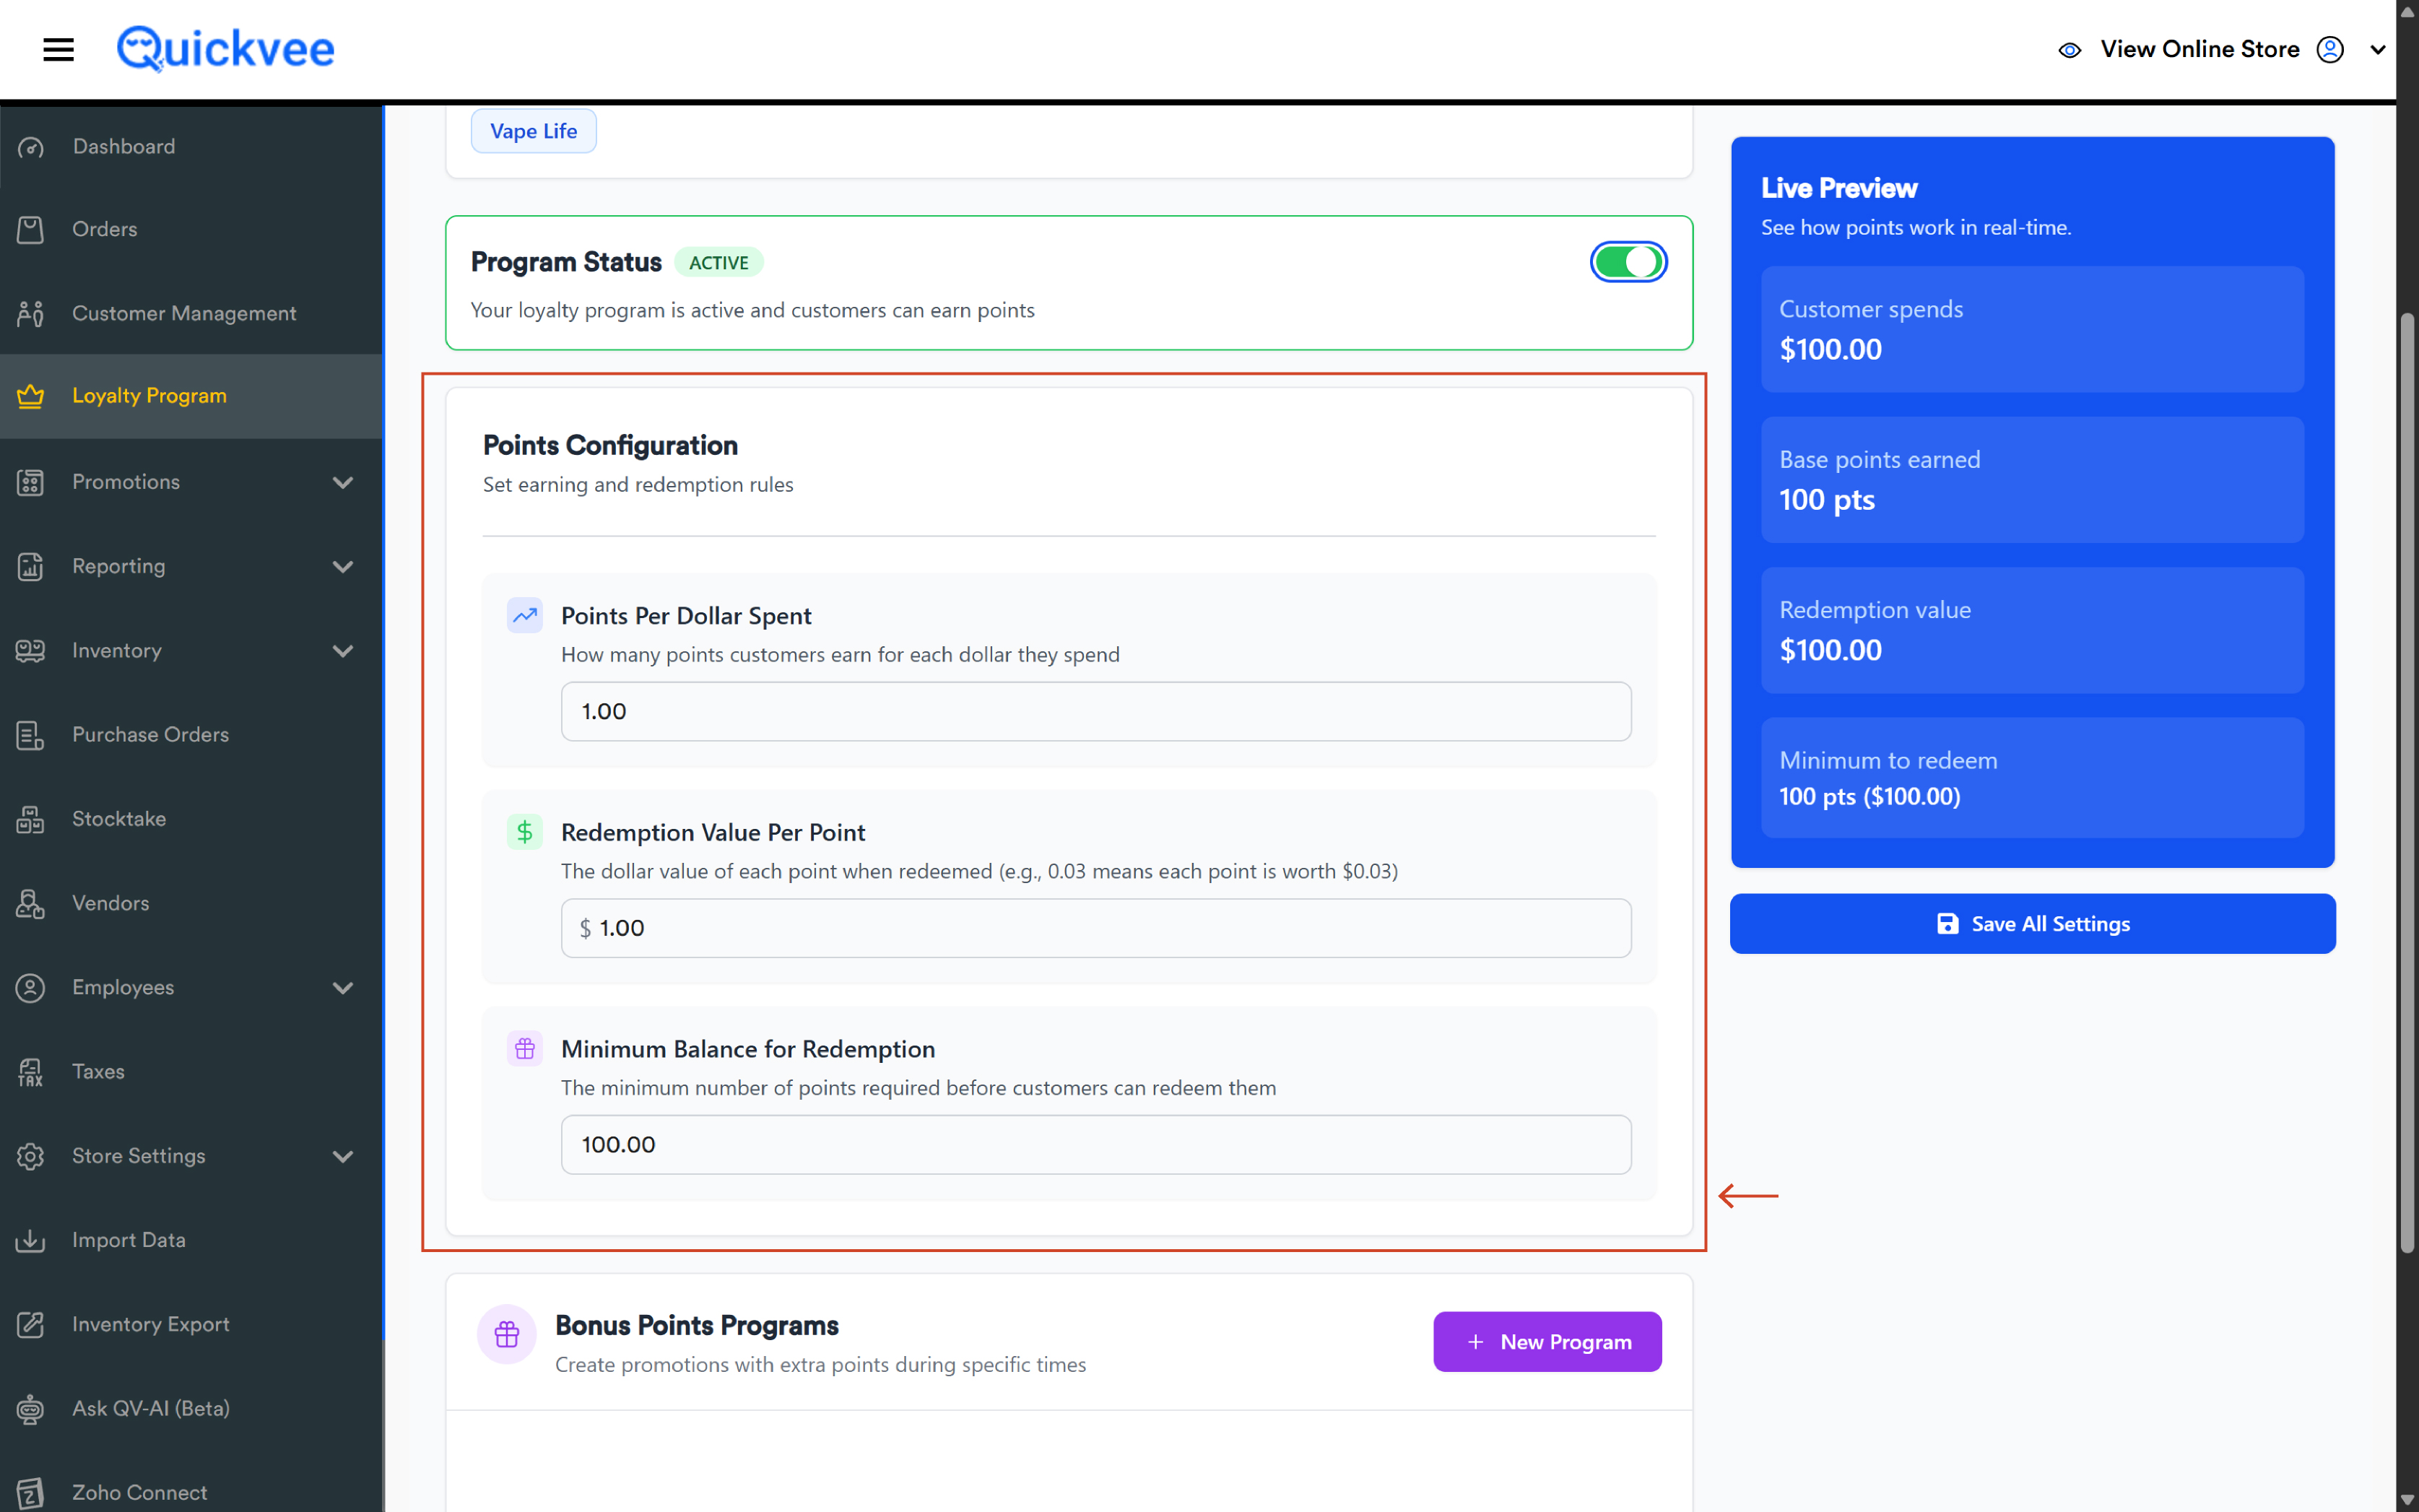
The Points Configuration card is where the core earn-and-burn math lives, titled Points Configuration with the subtitle Set earning and redemption rules. Three settings, each in its own card with an icon and description:
|
Setting |
What it does |
|---|---|
|
Points Per Dollar Spent |
How many loyalty points customers earn for each dollar they spend. 1.00 means 1 point per dollar; 10.00 means 10 points per dollar; 0.25 means 1 point per $4 spent. |
|
Redemption Value Per Point |
The dollar value of each point when redeemed. $1.00 means each point is worth $1 off at checkout; $0.03 means each point is worth 3¢. |
|
Minimum Balance for Redemption |
The minimum number of points a customer must hold before they can redeem any of them. Prevents micro-redemptions on tiny balances and gives customers a clear target. |
The earn rate and redemption value together define your loyalty economics. A 1 pt/$1 earn rate with a $1/point redemption rate gives back 100% of every dollar spent, very generous. A 1 pt/$1 earn rate with a $0.03/point redemption rate gives 3% back, closer to a typical retail rewards program. Pick numbers that match the margin you can afford to give back.
Bonus Points Programs
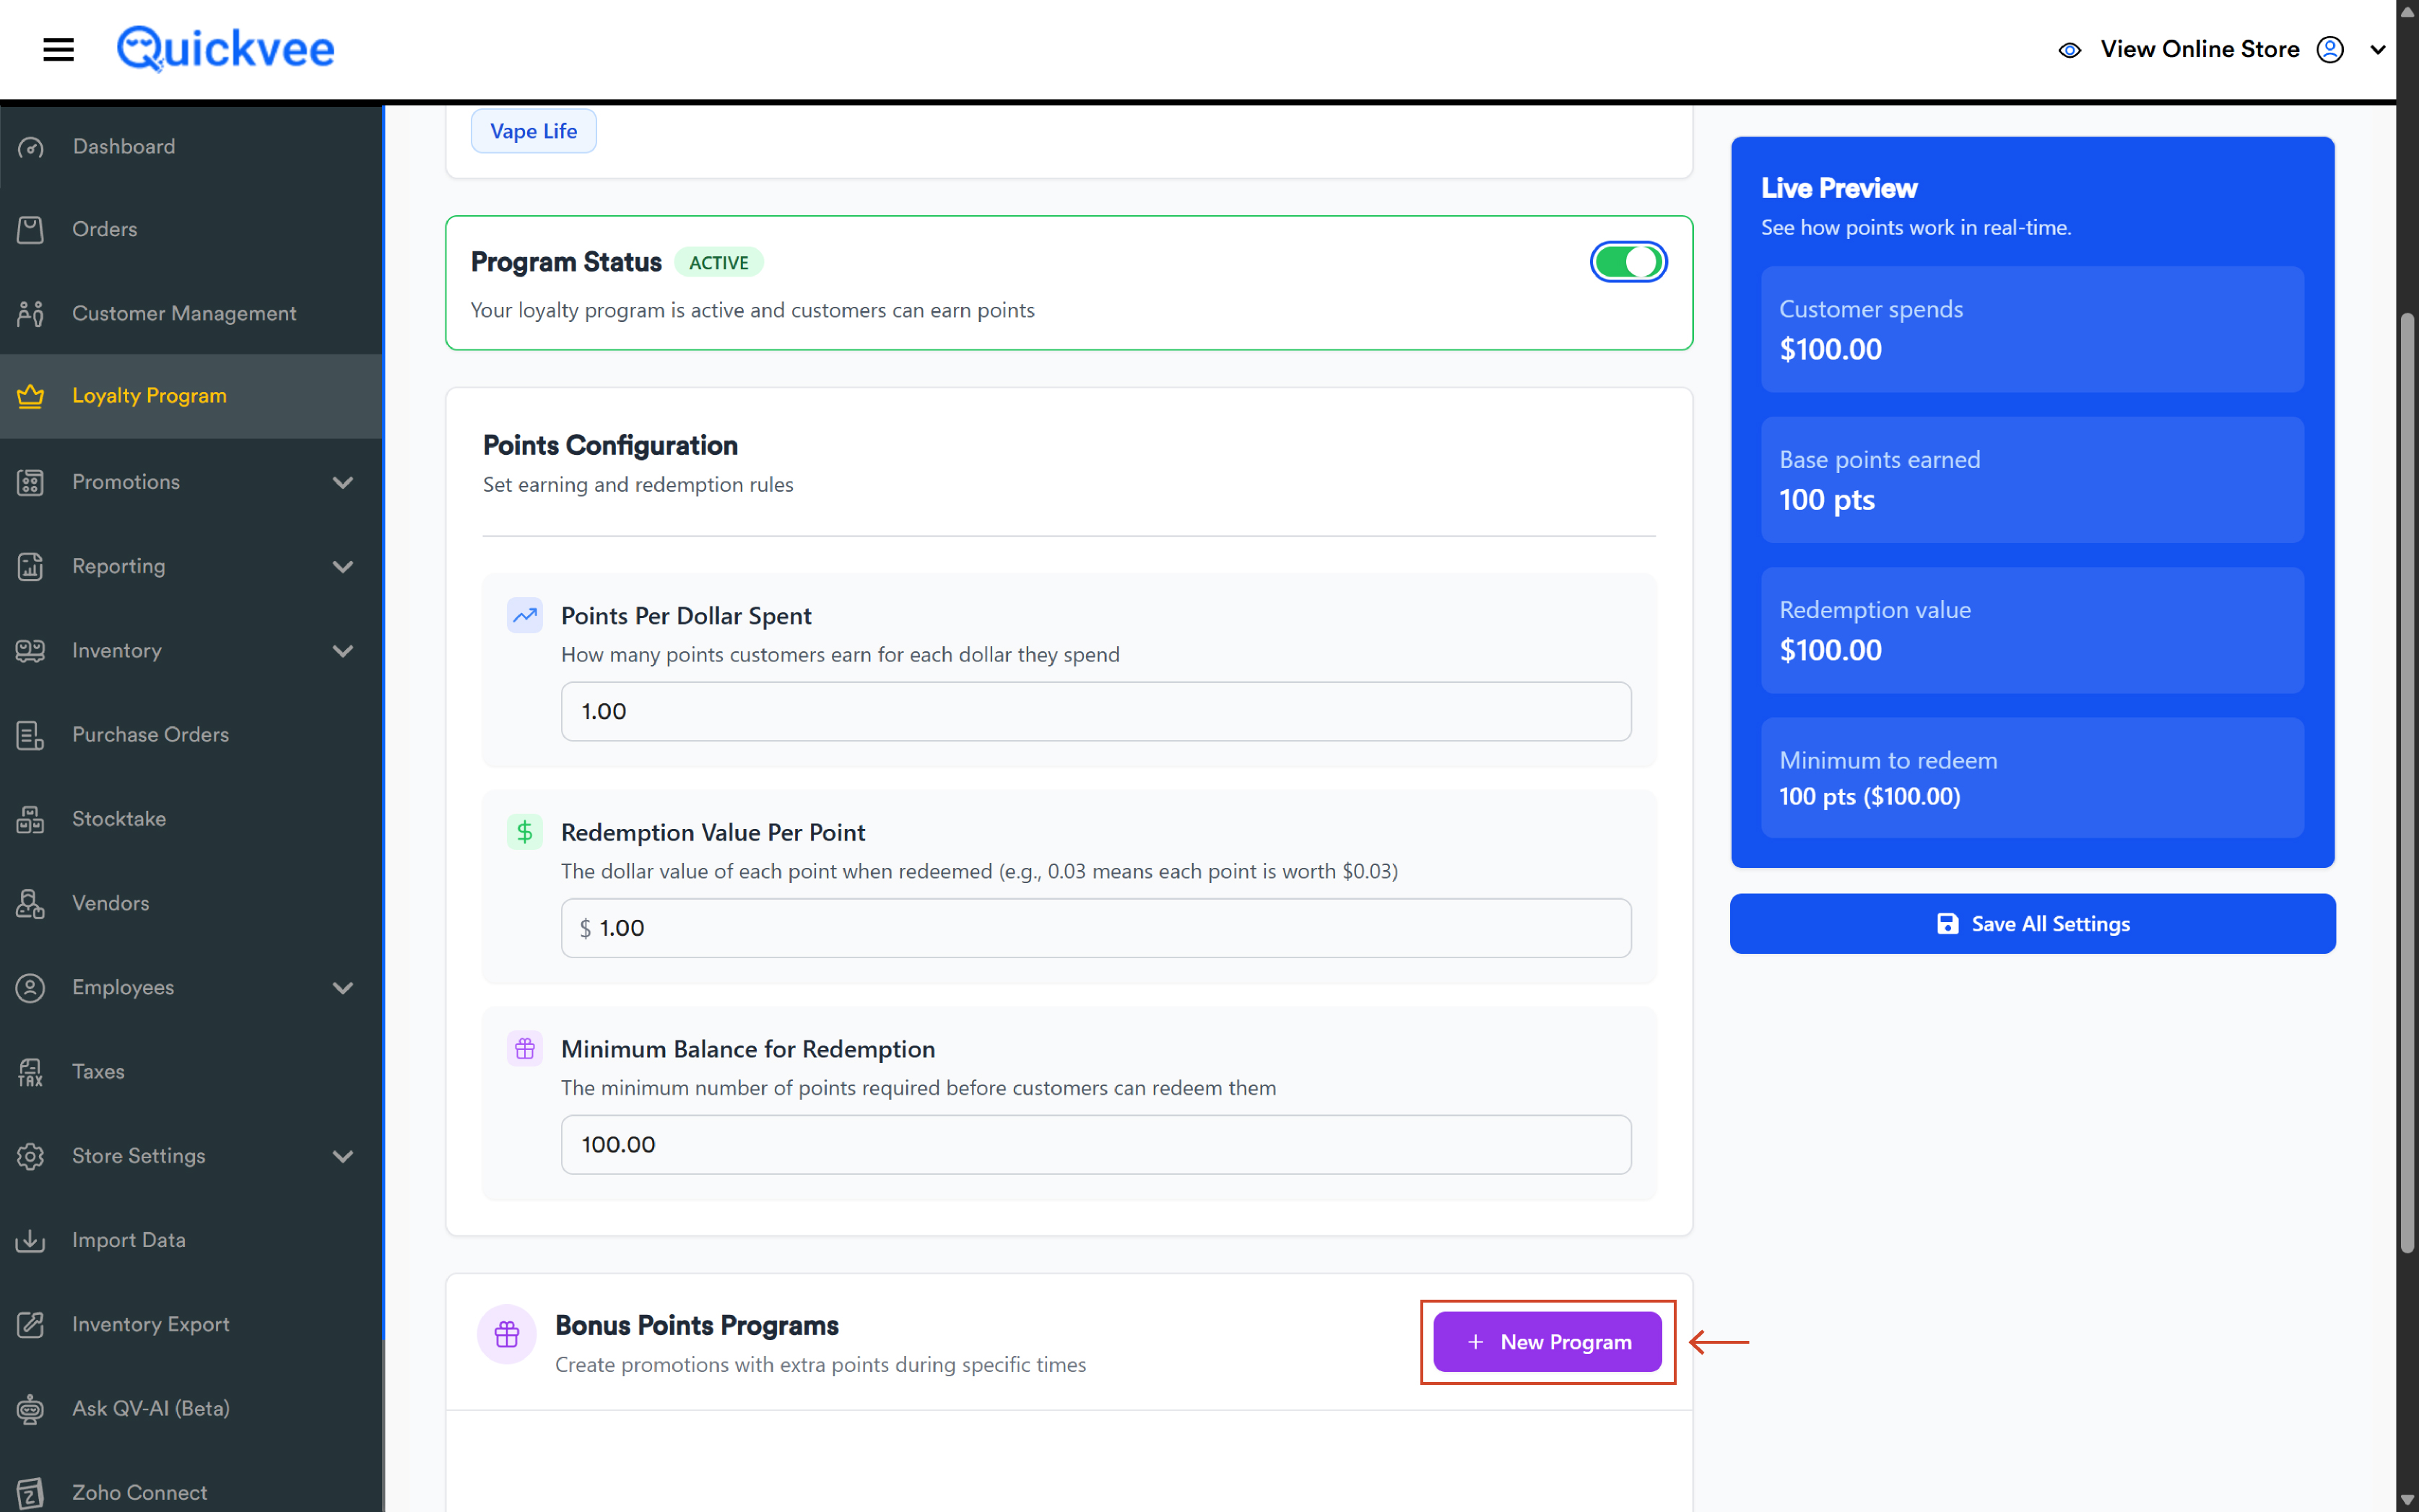
Below Points Configuration is the Bonus Points Programs section, limited-time promotions that award extra points on top of your base earn rate. Perfect for weekend events, weekday slow-day boosts, holiday promotions, and customer appreciation days. The header reads Bonus Points Programs with the subtitle Create promotions with extra points during specific times, and a + New Program button sits at the top-right.
Adding or editing a bonus program
Click + New Program to open the editor, or the edit pencil on an existing program to modify it:
-20260623-085028.jpg?cb=0257b46ccec534e8ecc33666ffefb5ae)
|
Field |
What it does |
|---|---|
|
Program Name |
Display name (e.g. Summer Deal, Tuesday Boost, Holiday Promo). |
|
Additional Bonus Points Per Dollar |
Extra points awarded per dollar during the promo, added to your base earn rate. Setting 2.00 on a base rate of 1.00 pts/$ means customers earn 3.00 pts/$ during the promo. Helper line: "Extra Points awarded per dollar spent (added to base points)." |
|
Date Range, Start / End Date |
The calendar window during which the bonus is active. |
|
Active Days |
Pick which days of the week the bonus applies (Sun to Sat). Click to toggle each day; selected days fill in purple. |
|
Limit to Specific Hours (checkbox), new |
When ticked, the bonus only applies during a specific time window within each active day (e.g. 4 PM to 7 PM for an after-work bonus). Unticked, it applies for the full active day. |
|
Repeat Weekly (checkbox), new |
When ticked, the program continues weekly on the selected days even after the End Date, a permanent recurring promotion (e.g. "every Tuesday is 2× points"). Unticked, the program ends on its End Date. |
At the bottom, Save Changes commits the program; it then appears in the Bonus Points Programs list. When editing an existing program, a Delete option is also available.
The Bonus Points Programs list
Each program appears as a card showing the program name with an ACTIVE/INACTIVE badge, a summary chip ($X spent = X.XX points), the date range, the selected days (or No days selected), a toggle to enable/disable without deleting, and an edit pencil. Toggling ON makes the bonus rate immediately add to the base earn rate during the active range and days; toggling OFF pauses it without deleting.
Tip: Build seasonal templates once and reuse them, disable last year's Winter Deal, edit the dates next December, re-enable. No need to recreate from scratch each season.
Bonus rates stack additively. Two overlapping programs (e.g. Tuesday Boost +1 pt/$ and Holiday Promo +2 pt/$) give customers the sum of both bonuses on top of your base rate. Be intentional when running concurrent promotions.
A program with "No days selected" won't apply anywhere. It still shows as ACTIVE, but until at least one day is picked in Active Days, no customer sees the bonus. Pick days before saving.
The Live Preview panel
On the right side of the page, the Live Preview card shows your settings translated to a real customer scenario, updating in real time as you adjust values. The heading reads Live Preview with the subtitle See how points work in real-time.
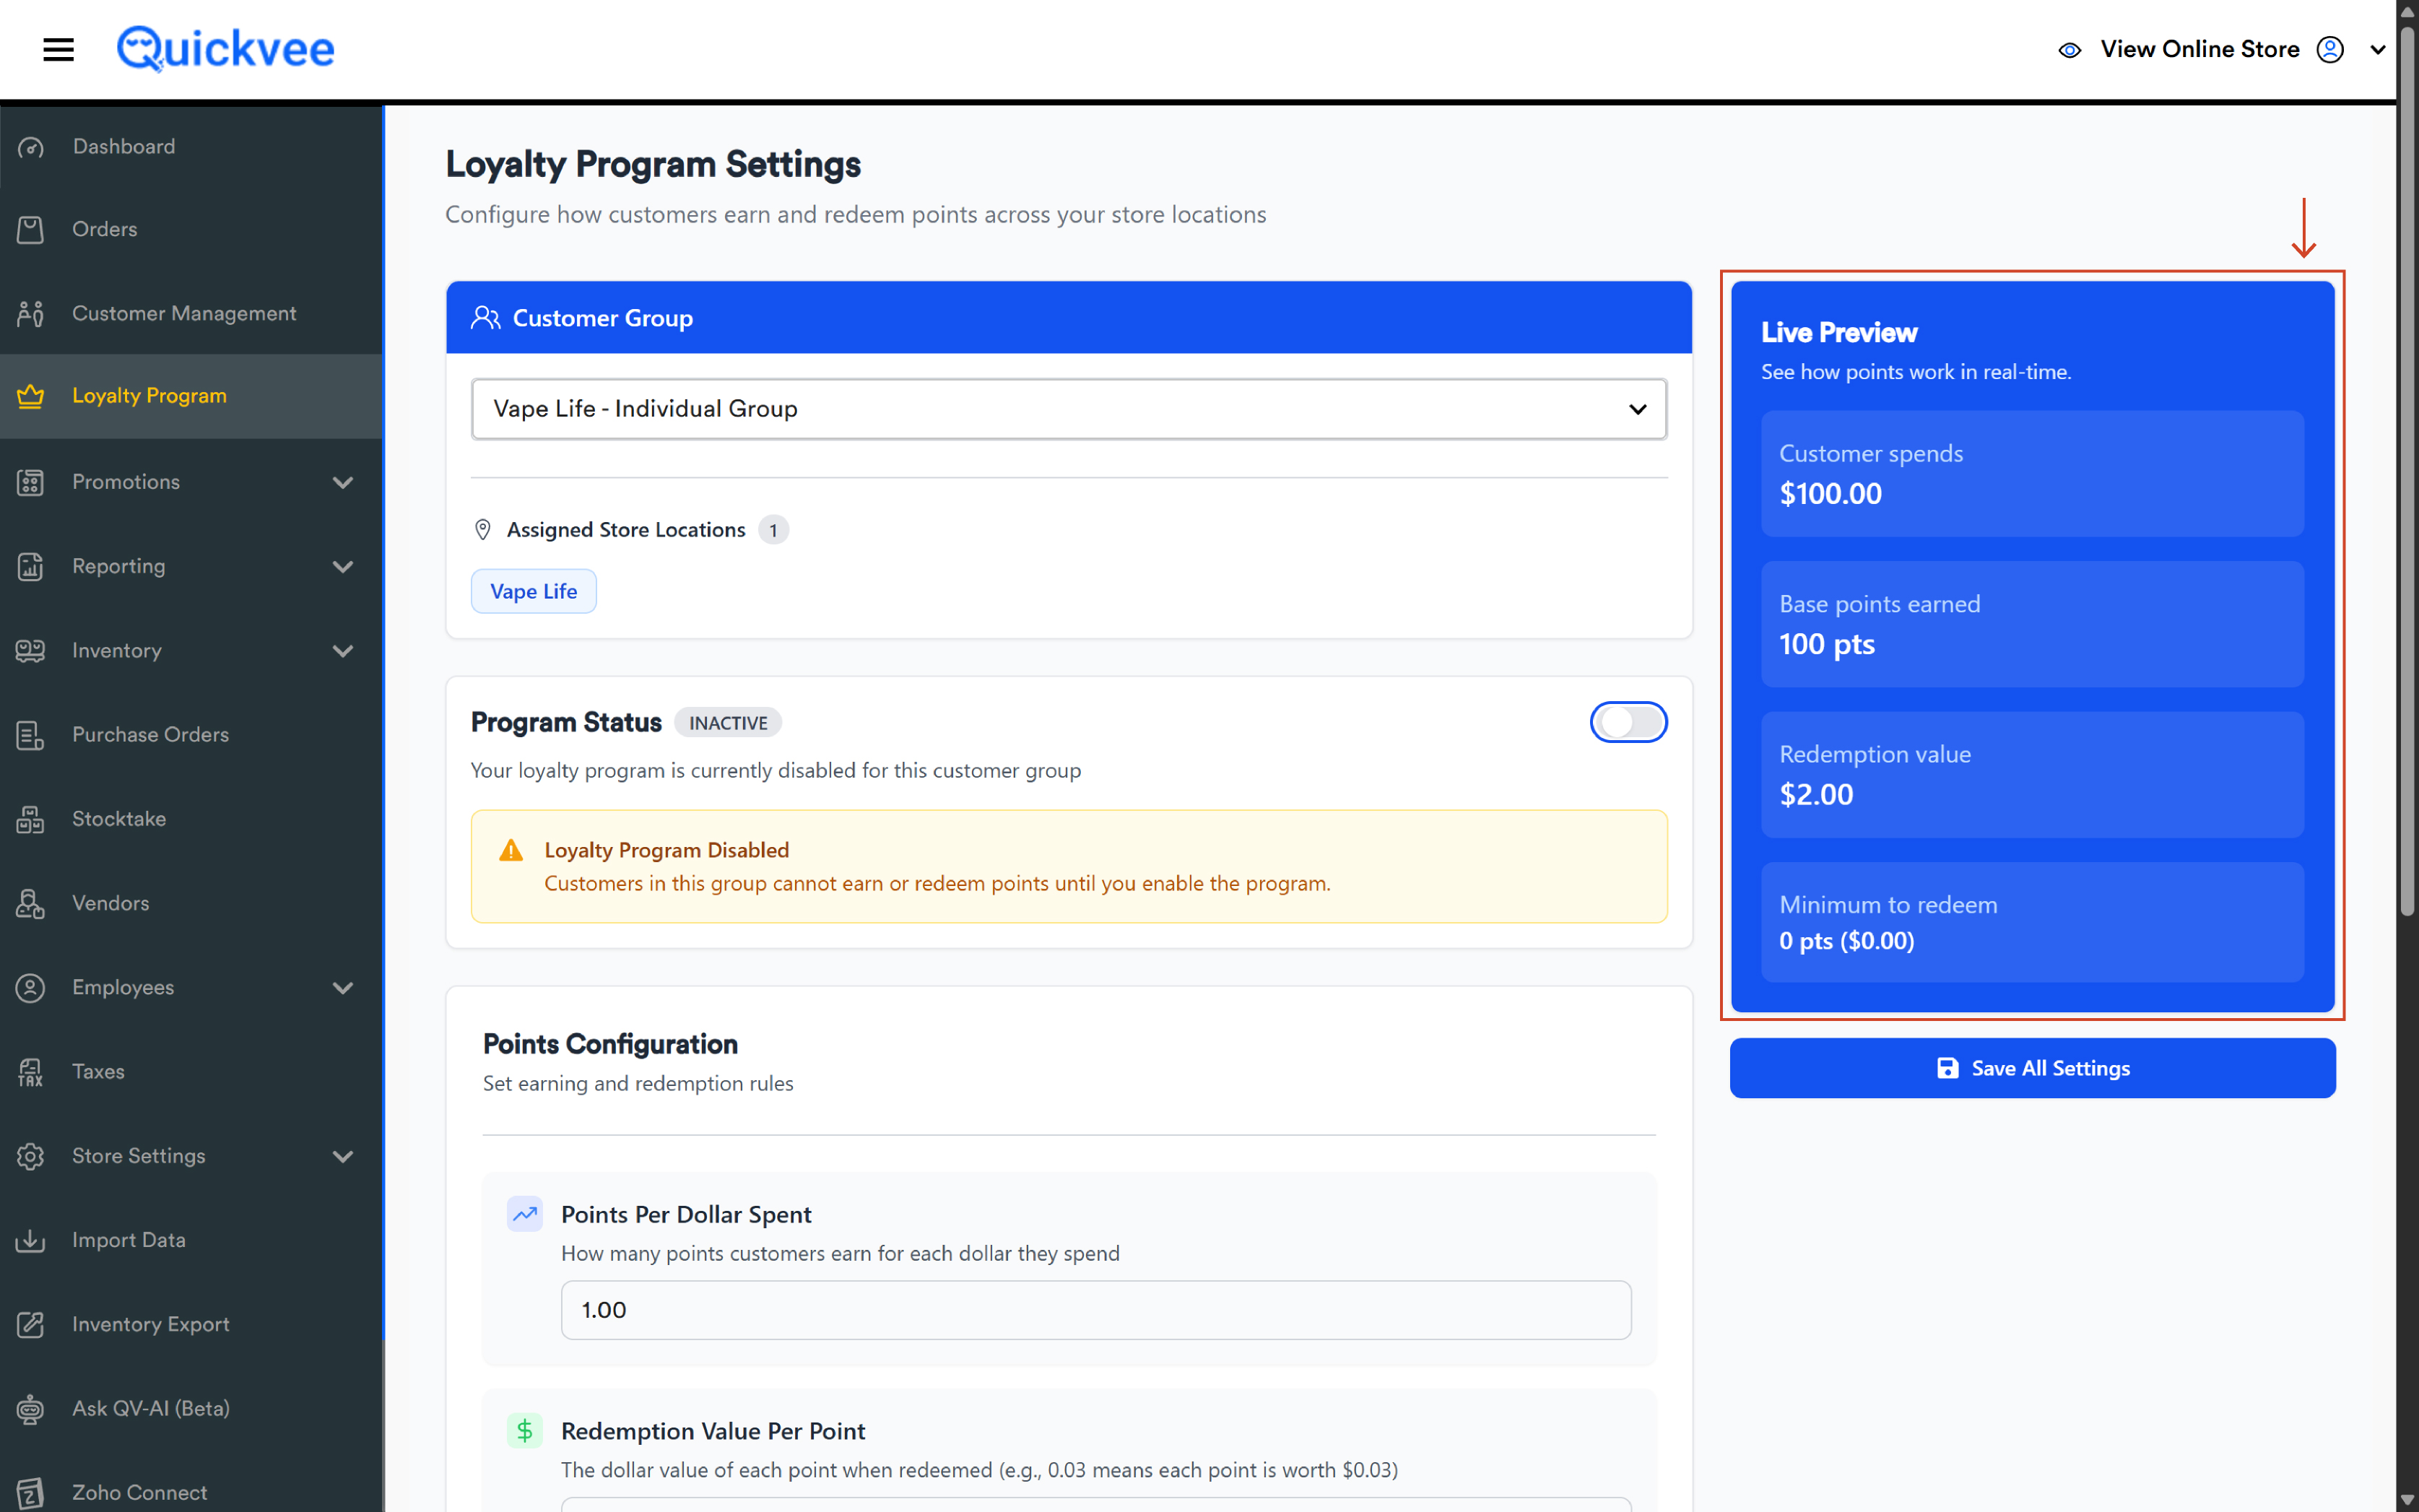
|
Preview tile |
What it shows |
|---|---|
|
Customer spends |
A reference spend amount, $100.00 by default. |
|
Base points earned |
The points a $100 purchase would earn at your current Points Per Dollar Spent setting. |
|
Redemption value |
The dollar value of those points at your current Redemption Value Per Point setting. |
|
Minimum to redeem |
Your Minimum Balance for Redemption in points, with its dollar value in parentheses. |
The preview updates as you change settings: change Points Per Dollar Spent from 10 to 5 and Base points earned drops from 1,000 to 500 instantly. Use it to gut-check your numbers before committing.
The preview is your safety net. If the Redemption value tile looks bigger than you intended (e.g. $1,000 back on a $100 spend), your earn rate and redemption rate combination is too generous. Walk one of the numbers down until the preview shows what you actually want customers to get back.
Saving, one button for everything
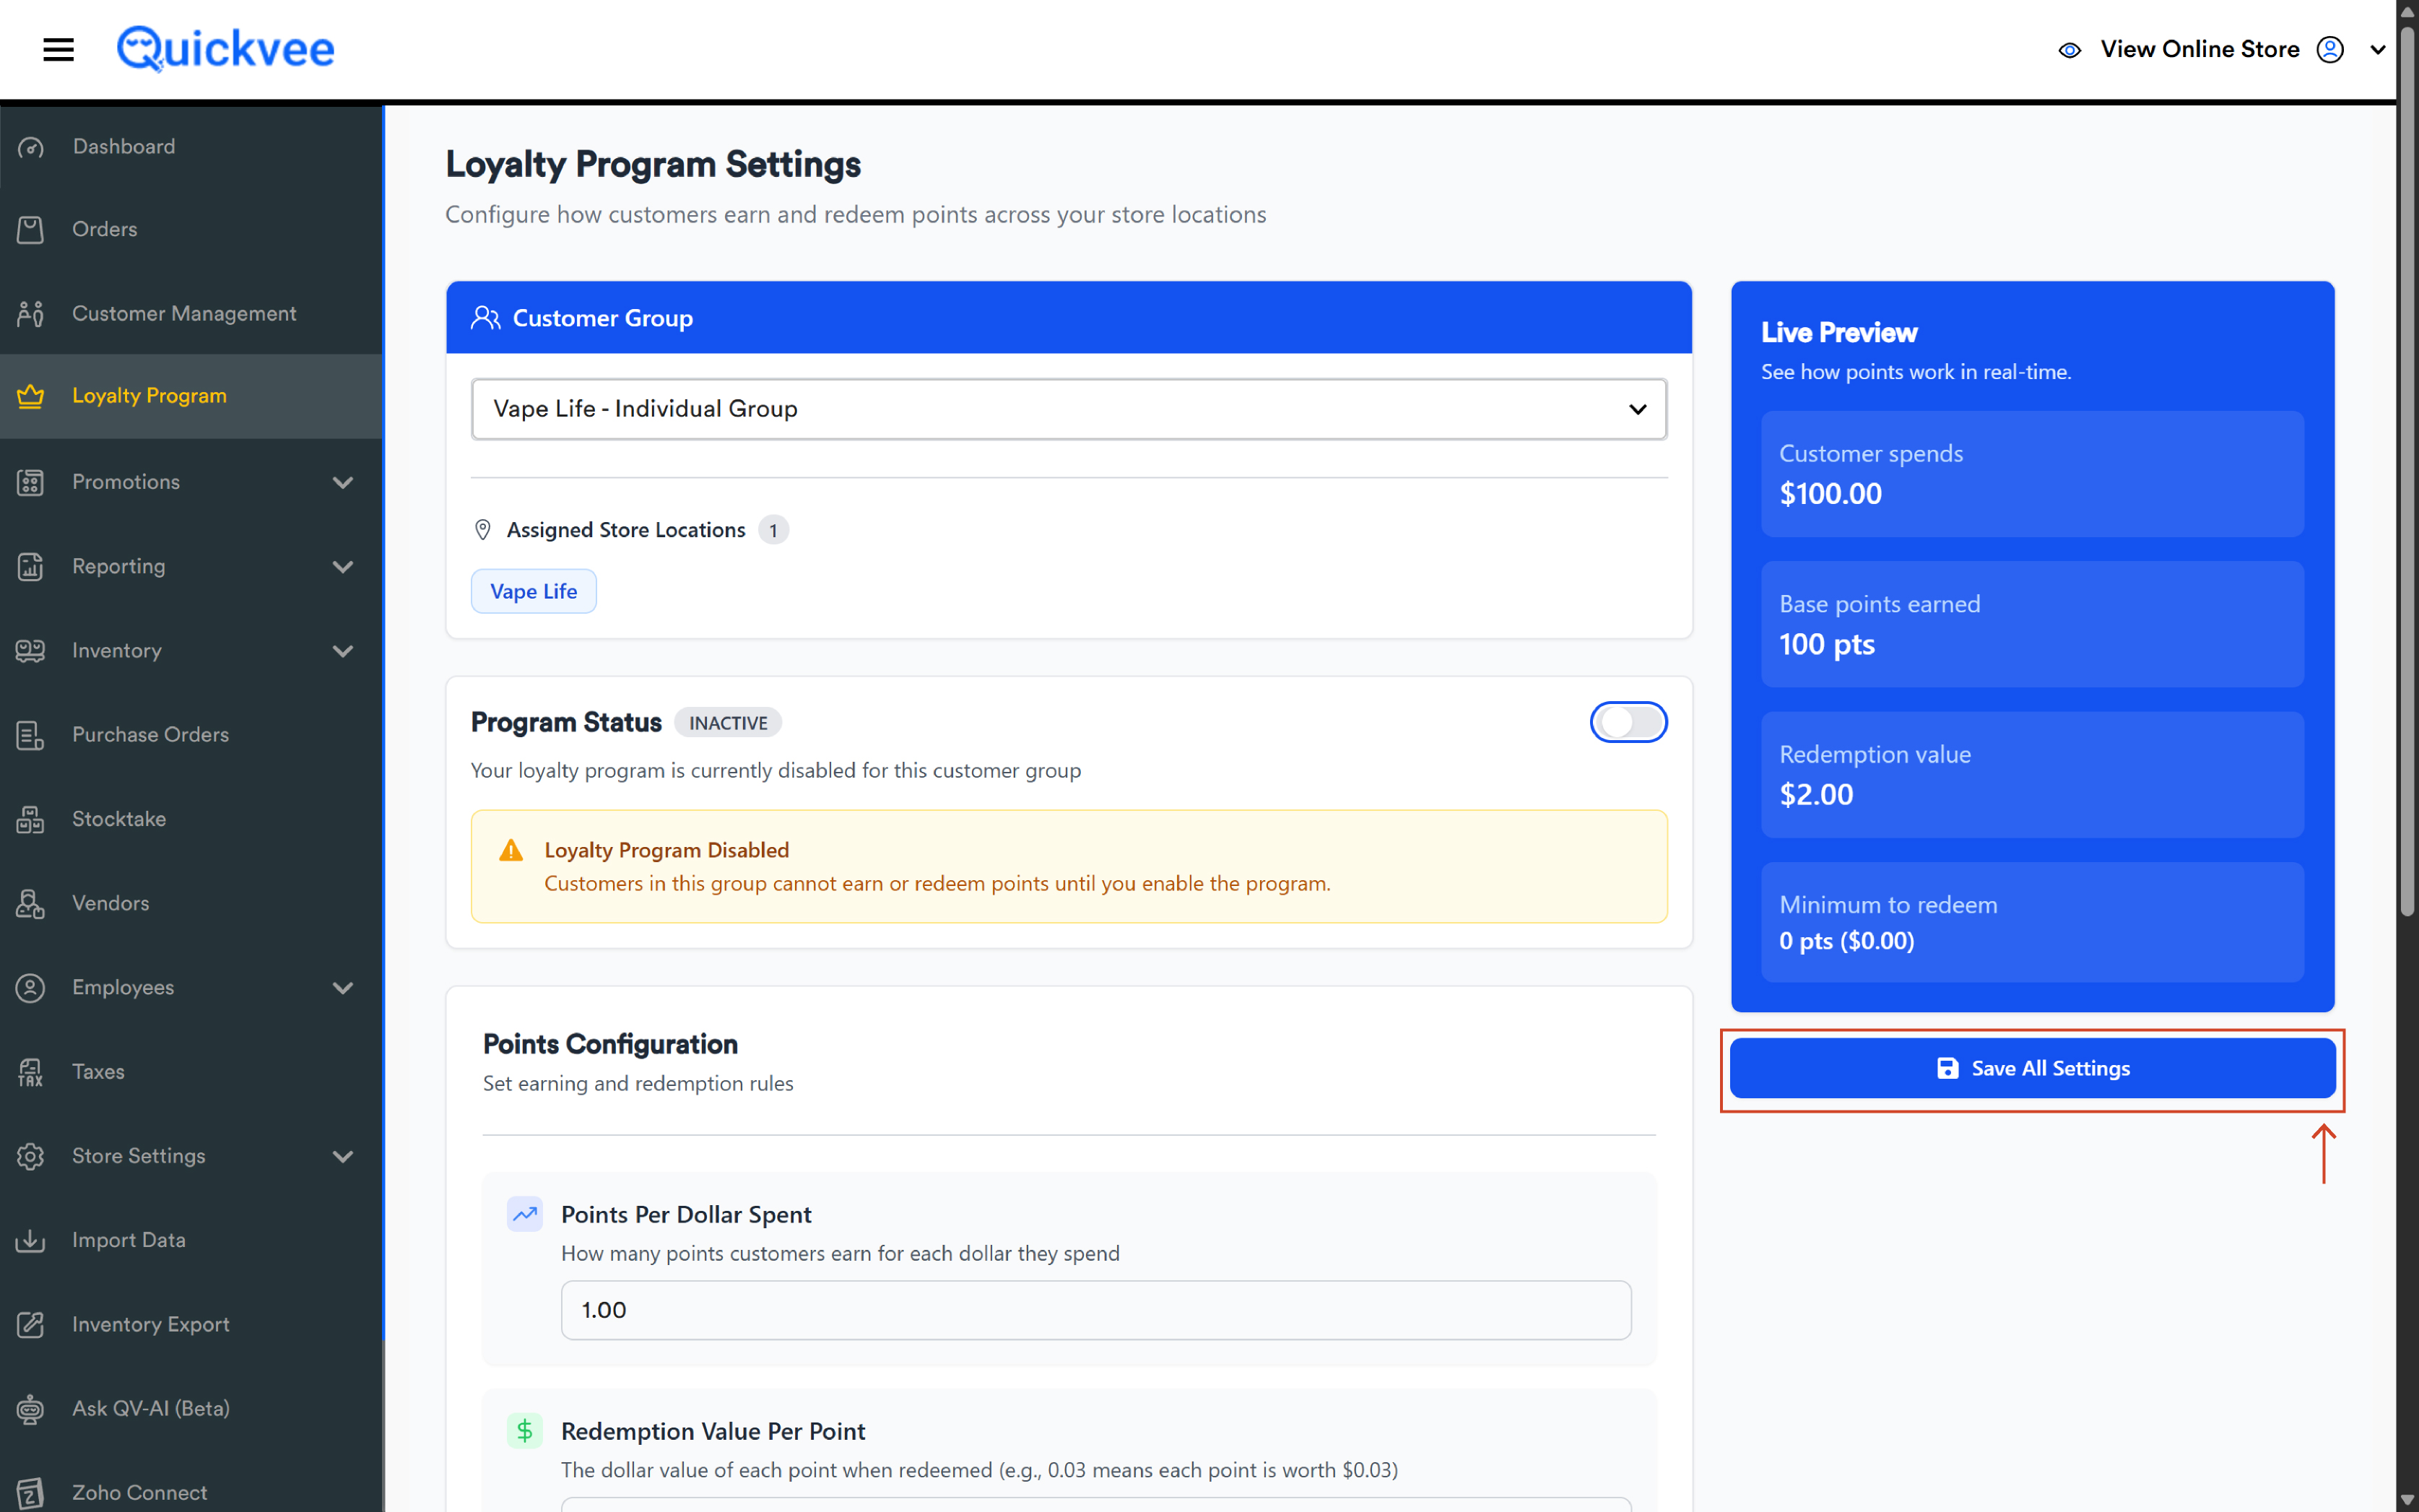
At the bottom of the Live Preview panel sits a single Save All Settings button (blue, full-width). Click it once and every change, Program Status, Points Configuration, and every Bonus Program edit, is saved together. There's no need to save each section separately; the legacy page used multiple Save buttons, the new version uses just this one.
What's different from Loyalty Program (old)
|
Element |
Loyalty Program (old) |
Loyalty Program (new) |
|---|---|---|
|
Customer Group selector |
Not present |
Present, your auto-created Individual Group is pre-selected |
|
Assigned Store Locations |
Not present |
Present, confirms which store the settings apply to |
|
Program Status |
Implicit (couldn't be cleanly paused) |
Explicit Active/Inactive toggle with ACTIVE badge |
|
Points Per Dollar Spent |
Yes |
Yes, now a dedicated card with icon and description |
|
Redemption Value Per Point |
Called "Point Redemption Rate" |
Renamed, now a dedicated card |
|
Minimum Balance for Redemption |
Called "Minimum Points to Redeem" |
Renamed, now a dedicated card |
|
Bonus Points Programs |
Date Range and Active Days |
Adds Limit to Specific Hours and Repeat Weekly |
|
Live Preview panel |
Not present |
Present, real-time earn/burn math |
|
Save action |
Multiple per-section Save buttons |
Single Save All Settings button |
The numbers you had configured in the legacy version carry over, customer point balances and your earn/redemption rates are preserved. The new screen simply presents and edits those same settings in a clearer layout, with the two new bonus options on top.
Things to know
Changing core settings does not retroactively change customer point balances. If you change Points Per Dollar Spent from 1 to 2, existing customers don't have their previously-earned points doubled. The new rate applies only to future transactions.
Activate or deactivate without losing data. Toggling Program Status to Inactive pauses earning and redemption; customer point balances, store credit, and gift card balances stay in place. Reactivating returns the program to normal.
The Live Preview is a calculator, not a saved state. Adjusting values updates the preview immediately, but nothing is committed until you click Save All Settings.
POS and Rear Display reflect changes within seconds. Save on the web, and within a few seconds the cashier's POS screen and the customer's Rear Display show the new rates. No POS restart required.
Related articles
-
Set up your loyalty program, the same program on the POS register
-
Customer Groups & Group Loyalty, sharing loyalty across multiple stores
-
Manage customers on the POS, customer profiles, credit, and points